“You’ll blow your hand off shoot your eye out, kid!”
-Unnamed department store Santa Claus, A Christmas Story
Background
When the Liberator 3D printable gun came out in 2013, it was revolutionary. Politicians, regulators, and fearful members of the public freaked out envisioning people walking through airport and other security checkpoints with GLOCK 7-like stealth.
The reality was, though, the Liberator was problematic to use and out of reach for most people. At the time, 3D printers cost thousands of dollars, making the technology difficult for most people to access. For the price, you could buy yourself a pretty nice “race gun” competition pistol, or a very nice rifle instead of ending up with an unsightly gun with a plastic barrel that might blow up in your hands.
Things have changed a lot in the last eight years.
While many people still think 3D printed guns will explode and relieve you of some of your digits, the technology has improved drastically. Many available designs don’t print an entire gun, just the regulated part of a firearm.
For example, one can 3D print the lower receiver for an AR-15 or AK clone, or the frame of popular pistols, like the GLOCK 17 or the Smith & Wesson M&P SHIELD pistol. This enables people in the U.S. to build their own receivers and then purchase the other unregulated metal parts to complete the build. Federally, it’s perfectly legal to build your own firearms for personal use. It always has been.
The state of the 3D printing art had advanced enough that virtually anyone is capable of building a complete firearm at home. This enables people in less permissive environments to build a gun with no regulated parts and no special skills.
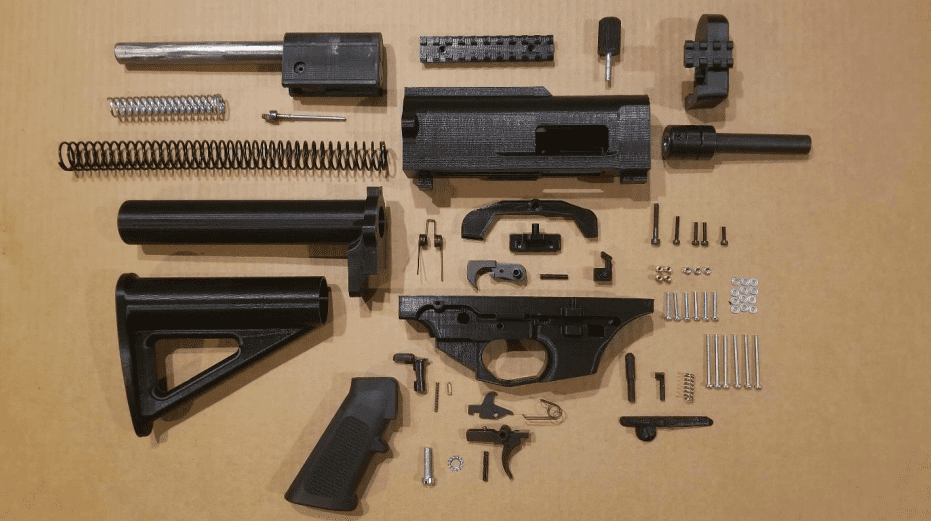
You can’t yet build a safe and reliable gun using a 3D printer alone, though. To fully build your own functional firearm, you’ll need to make your own metal barrel, build a metal bolt carrier group, and buy some springs, nuts, bolts, and a few other everyday items from a hardware store. All of that can now be done at home with fairly minimal skill.
Some states, of course, have now banned building your own firearms, enacting “ghost gun” laws to outlaw individuals from building their own guns. More states are working on bans and with the change of administrations, there’s now a push for ban this at the federal level.
Be sure to check on the laws in your state before doing this. I’m not a lawyer, and nothing in this article should be taken as legal advice. If you do something that’s illegal and get arrested, that’s on you.
It’s affordable now
While the quality of homemade guns has gone way up, the price of building them has gone way down. 3D printers that used to cost thousands can now be had for about $200. That’s not much more than many retailers are charging for handgun or AR lowers now (if you can find them in stock at all).
The other supplies you’ll need to build a complete firearm will add another $300 $400. So now, for less than the price of a basic pistol, you can build your own guns at home.
Getting Started With 3D Printing
“There are three kinds of men. The ones that learn by readin’. The few who learn by observation. The rest of them have to pee on the electric fence for themselves.” – Will Rogers (supposedly)
After seeing some of 3D printing pioneer Ivan the Troll’s tweets in 2019, and looking into it a bit, I gathered the information above, but was still pretty short on knowledge. It took me a lot of reading, watching videos, and some trial and error to get my Creality Ender 3 up and going. In the process, I came into unpleasant contact with a few proverbial electric fences. This article meant so you won’t have to do the same.
The FGC-9 is a firearm anyone can make, anywhere in the world.
Made from 3D-printed parts paired with unregulated metal parts, it stands as a death-blow to future US gun control efforts, and circumvents strict European gun control laws.
And the plans are free to download. pic.twitter.com/qnAAZH7Zjo
— Ivan al-Nohandi, PhD (@Ivan_Is_Back) April 1, 2020
Shopping List
Most of this was recommended by Ivan himself in articles both here and at CTRL+Pew, but I’m going to add some of my own notes to help readers get up and running more easily.
Printer:
I bought my Creality Ender 3 at Amazon. I didn’t buy the “pro” or “v2” versions, because Ivan said they aren’t necessary. Mine, from this Amazon vendor, came with a 32-bit board, so I didn’t need to upgrade it to quiet it down. Some Enders come with 8-bit boards, so be ready to shell out another few bucks for an upgraded board to quiet the printer down.
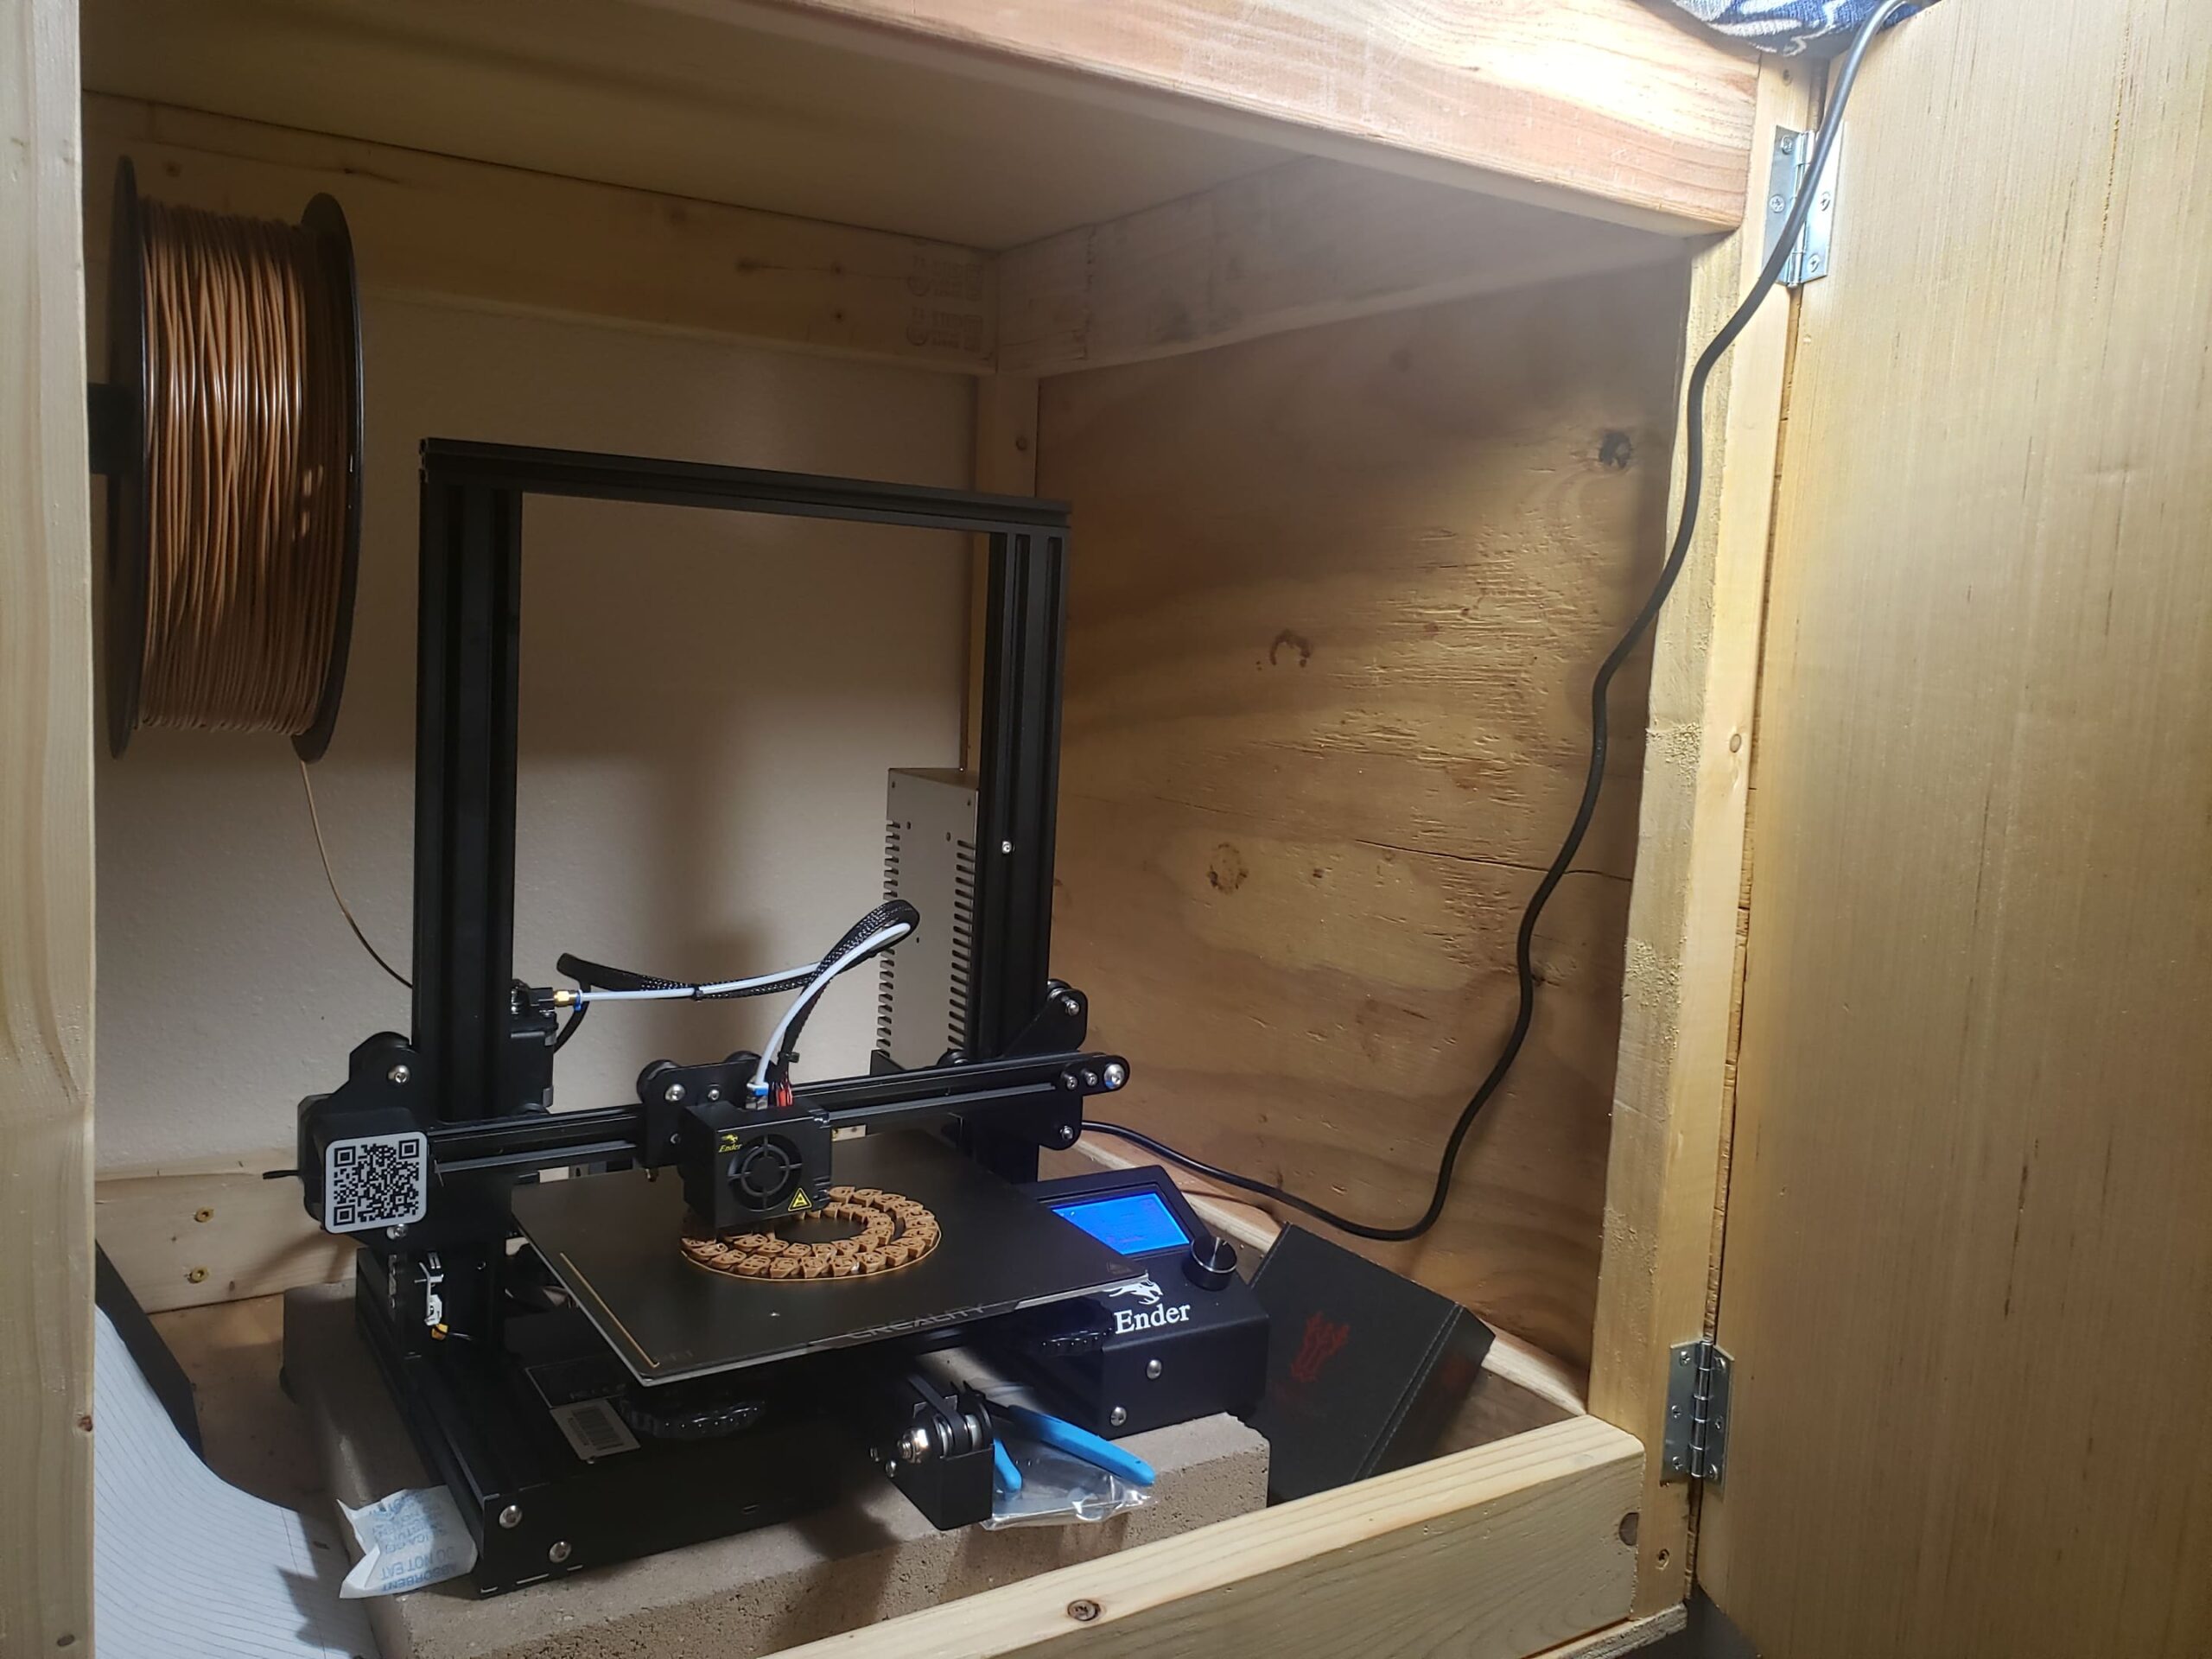
Enclosure:
There are a lot of options when it comes to enclosing the printer, but you’ll want to box it up somehow because 3D printers put out some nasty volatile organic compounds and bits of plastic if you share the air with them. Also, an enclosure helps muffle the remaining noise and keep pets or children away from the printer.
I built one with 2x4s, 1x2s, and plywood, which I mounted to studs in the wall. If you aren’t handy with power tools, you can buy everything from printer tents to plastic enclosures.
Sound/Vibration Deadening:
Keeping the printer’s noise down is a big plus for domestic tranquility unless you locate the printer in your garage. Most of the sound of a running 3D printer results from vibration going into the surface below it.
To quiet it down even more, buy a simple paver brick like this one at Lowes and stack the paver on top of foam material or sponges. This keeps the vibrations from being amplified by the desk or box you put the printer in. This Hackaday article goes into greater detail.
Better Leveling Springs:
Bed leveling springs are very important. You turn knobs to adjust the printing surface and keep it level with the nozzle, but the springs keep it there. The springs that come with the Ender 3 are, well, garbage, so you’ll find yourself adjusting level more often than you should.
If you’d like to do more printing and less adjusting, buy these springs and install them during printer assembly. You’ll be glad you did.
A Better Build Surface:
One of the big hassles I’ve been able to avoid was trouble with keeping prints adhered to the printer bed. Many people swear by using hairspray, glass surfaces, and gluesticks. I followed Ivan’s advice and bought the Creality PEI magnetic build plate. When assembling the printer, be sure to adjust the Z axis stop switch up a bit to make up for the bed being higher than stock.
Filament:
This is the material you’ll use to print what you’re making. Buy a roll or two of cheap, ugly filament at first to get started. At first you’ll do test prints, making calibration cubes, boats, or cats, possibly making the kids some toys. Don’t buy any fancy filament for any of that. Here’s a cheaper grey filament that’s still of good quality.
Other Tools
You’ll Need a set of calipers later for calibration, a Swanson Speed Square, and clamps or zip ties for assembly of the printer.
Put An Order In For Barrel Material
In this article, I’m not going to cover making the 9×19 barrel for the FCG-9, but it will take a few weeks for the pipe material to come in. You should probably order the barrel stock when you order the printer, but you can get the other barrel making supplies from domestic sources that will come in faster. I bought four pipes so I’d have plenty for mistakes and later builds and so I won’t have to wait for them to come in later.
Building The Printer
Simply following the instructions that come with the printer isn’t a good idea. You can slam the thing together and it will work, but if things aren’t assembled with some precision, you’ll struggle later adjusting to the things you did wrong.
This video gives you a good guide:
The key here is that you should BUILD the printer instead of merely assembling it. Expect to spend 3-5 hours putting this thing together properly and carefully. Don’t slam it together and expect things to work well.
The only thing you’ll need to do that’s different from the video is to raise the Z-axis stop switch up roughly the thickness of the PEI bed and magnet sheet. You’ll see what I mean as you go, and you can use the PEI bed and magnet as a spacer below the switch mount to hold it in place while you tighten the screws.
I didn’t do this and the result was that the bed was bottomed out and I thought barely level with the print nozzle. Once heated up, it expanded and I put a hole in my PEI bed. You can adjust things right and avoid that, though.
I didn’t use carpentry clamps the way the guy did in the video. Instead I used zip ties to hold things in place while tightening bolts. Double check level and redo the bolts as many times as you have to during assembly so things come out straight. It’s tedious work, but you’ll be glad you got it right later.
Preparing To Print
Up to this point (and after it) you’ll probably have lots of questions. Google is extremely helpful. There are lots of guides and videos on the internet for every step in the process. There’s a world of information at our fingertips, so take advantage of it. Don’t get discouraged. Go slow, get it right, and build your skills.
Follow the instructions here to get your bed level and make your first test print. If you are using a printer with a 32-bit board, be sure to use the right bed leveling and test print files as indicated in the instructions.
Watch the video below and follow these instructions to get it right and avoid putting a hole in your build surface.
Printing
To print anything, you’ll need to install a “slicer” program on your computer to convert STL files you download into a .gcode file your printer will understand. At this step, you’ll decide where on the print bed things are printed, what supports are used (if any), and make other build decisions.
I started with PrusaSlicer because some family members with printers recommended it and it has profiles for the Ender 3 that are pretty good to start with. Ivan recommends Cura. There is also Slic3r, and PrusaSlicer is based on that. Good guides are available online for each slicer program. Look them up and get familiar.
At this point, you’ll be able to do some basic printing. Things won’t be perfect, but you’ll be able to print the calibration cubes and narrow things down even more. Ivan has written helpful next steps here, which I won’t replicate because I don’t really have anything to add.
You’re also ready at this point to make the kids a few toys from Thingiverse, and print some other things that don’t require much precision. Do some of that to practice and learn. Make mistakes on things that don’t matter much for a few days to build some skill. Once you’re confident and the printer is calibrated, you’ll be ready to move on to making parts for guns.
I’ll get into that in the next post.




Not seeing how this method is superior or desirable. It is perhaps a fun thing to do for folks with the cash to waste but does not come remotely close to being a viable means of obtaining a firearm for anything more than a very, very small number of people. It continues to cost a lot more than just buying a gun and continues to offer a far less durable result.
This is the same reason I haven’t built an 80% AK. Too much tool-up cost for a one-off.
However…I know a guy with a printer. IF a finished barrel were available for purchase, I would seriously consider it.
ps- I really hate this new format.
The FGC-9 is derivative of a design that uses a Glock barrel.
Look up the WTF-9.
It really depends on the goal. If you just want a gun, and live somewhere that they’re legal, go buy one. If you want to contribute the the preemption of future gun control by undermining its enforceability entirely, then it makes sense to contribute to these kinds of projects. The FGC-9 isn’t the best gun, but it killed gun control dead without firing a shot.
If you’re in the U.S. and quality guns are readily available, of course these home crafted firearms are going to be inferior in most cases. The big exception will be the pistols, which can be close to factory quality because they use many factory parts.
If you’re in Europe or Asia and want a firearm, this is basically your only choice unless you want to risk buying a gun from an undercover cop or otherwise ending up in a prison. The FGC-9 originated from a team lead by a man in western Europe who had no other way to arm himself.
https://www.youtube.com/watch?v=jlB2QV5wVxg
Thanks for writing. I learned some new things. I didn’t realize noise and smell was an issue.
They aren’t really.
I don’t notice any smell using PLA and my printer has printed overnight in the room next to my bedroom, no problems. My wife does keep a fan on all night though.
I do not not who you are, and have not seen your screen name here before. Where have you been ? Because you make a lot of sense
You just don’t get it enuf. This isn’t meant to replace commercially available firearms…unless those firearms aren’t available. But we’d never experience a situation where we couldn’t just waltz on down to the local gun store and pick out whatever we want, right? Thanks TTAG for writing about this. Hopefully some readers will try this and learn it’s not as scary as they think. You can’t stop the signal…
Enuff’s pretty cool, you’ve just gotta get out of the box.
seriously, the printers weren’t ‘thousands’ even in 2013, they were sub-$1k.
There were cheap 3D printers in 2013, but they weren’t that great. I had a family member who owned one, and the results were pretty junky. Today’s sub-$200 Ender 3 is way ahead of what you could get for $500-1000 in 2013.
LOTS THINK ABOUT , ME I’M JUST NOT THAT TECH SAVY TO BUILD MINE OWN .
THANKS FOR INFOR , ALWAYS
Sure yah can build your own, just dont use plastic and 3d printers.
That gunm sure looks clunky funky. If that’s what a 3d printer does I’ll just stick with a pipe that slides in a pipe .
Technology
A magazine fed semi auto gun is significantly better than a slam fire shotgun… no matter how clunky it looks…
Nope
Your fckn around aligning sights , turning on flashlights n all that sht, and I up and yanks my arm and sets you on your ass.
Dont tell me how it works.
Have you been shot? I have.
There were some decent printers in 2014, I still am using one picked up at that time a Rigidbot. Was around $450 at the time., and the delta I build for around $300 round the same time is still in use at the school.
Personally I use glass for a printing surface with cheap unscented Aquanet hairspray.
And I do not use anything fancy for the glass, Lowes or Home Depot 3/32-in picture frame glass is perfect and makes cheap bed surface.
A site that is worth watching is https://www.reddit.com/r/3dprintingdeals/new/ . There are often deals on printers, parts and supplies and filament on there.
I mostly use mine to create parts of lapidary equipment that is no longer available but did make a couple 10-22 receivers and a brass lower for an AR15, I need to make the upper and assorted parts and polish them. If asked I can lie and say they are one of Henry’s special projects. Could be any Henry ,, right?
And hate the new format but will get used to it .
The new floormats is okay. Makes it easier for the sweepers to sweep. Do You Hear Me?
Now that’s over.
You eff🐝👁, – -no I’m gonna say it, ,, you FBI. ,ATF , Homeland Security sons a bitches are messing with American citizens. Dont push us and We wont push you.
Power cost blood, I’ve got about two gallons.
Just imagine what will printed 5 years from now.
I expect this administration to lean hard on 3-D printers in the coming months.
Well five years from now it ain’t gonna matter.
Presto Changeo.
My Name Is Mud.
Fck your comments awaiting moderation, moderate it, like big loss
I really appreciate this article! Cannot wait for the 2nd one!
Everything in live is a choice. Build your own. Don’t.
I choose to try this at some point; the many 80% builds I’ve completed have been very enjoyable. Fun & no paperwork. Guns for those of us behind the curtain.
Keep in mind this is a developing technology. It is now possible to print your own GLOCK magazines, make a jig to form the spring for a magazine, print a replacement frame for a Hi-Power that accepts GLOCK magazines, and print a tool that lets you “machine” rifling in a barrel.
Every day the printers are getting more capable and the user base is finding new ways to utilize what is already available. Every day it gets easier to fabricate more, better parts.
And good enough is a thing. I have a somewhat obscure 22 that I want to put peep sights on. Being able to fabricate a “good enough” plastic part that I could never make out of metal is a huge deal. And once it is done I can share the specs for free.
Ironic that you worry about volatile printing fumes while making a semi automatic gun.
Where’s the irony?
In either instance, the objective is protection.