I have to admit that I really never knew much or really understood the hype surrounding the famous, but sometimes elusive Q products. I would see dozens of guys wearing shirts with a Q logo as a sprinkle donut or some 80’s style 8-Bit guns. None of them, however, were actual owners of Q products.
Today we’re talking about Q, spiral barrels, and their Side Chick rifle chassis.
I’m not going to go into extensive detail about the company. The Reader’s Digest version is that they are quite popular with a substantial cult following thanks in large part to the personalities behind the products.
Q is one of those companies that people have certain opinions about and I really don’t want to get into that here despite taking some sideways jabs as a ‘groupie,’ which I can assure you I’m not. Although I did buy a couple shirts. And stickers. And maybe some more swag.
The Chassis
The basis of this review is the Q Side Chick chassis for Remington 700 short actions. A quick note is that you can, if you want, use other 700-footprint actions in the Side Chick, although you may or may not be able to use the integrated scope rail, which is a separate piece and not integrated into the handguard.
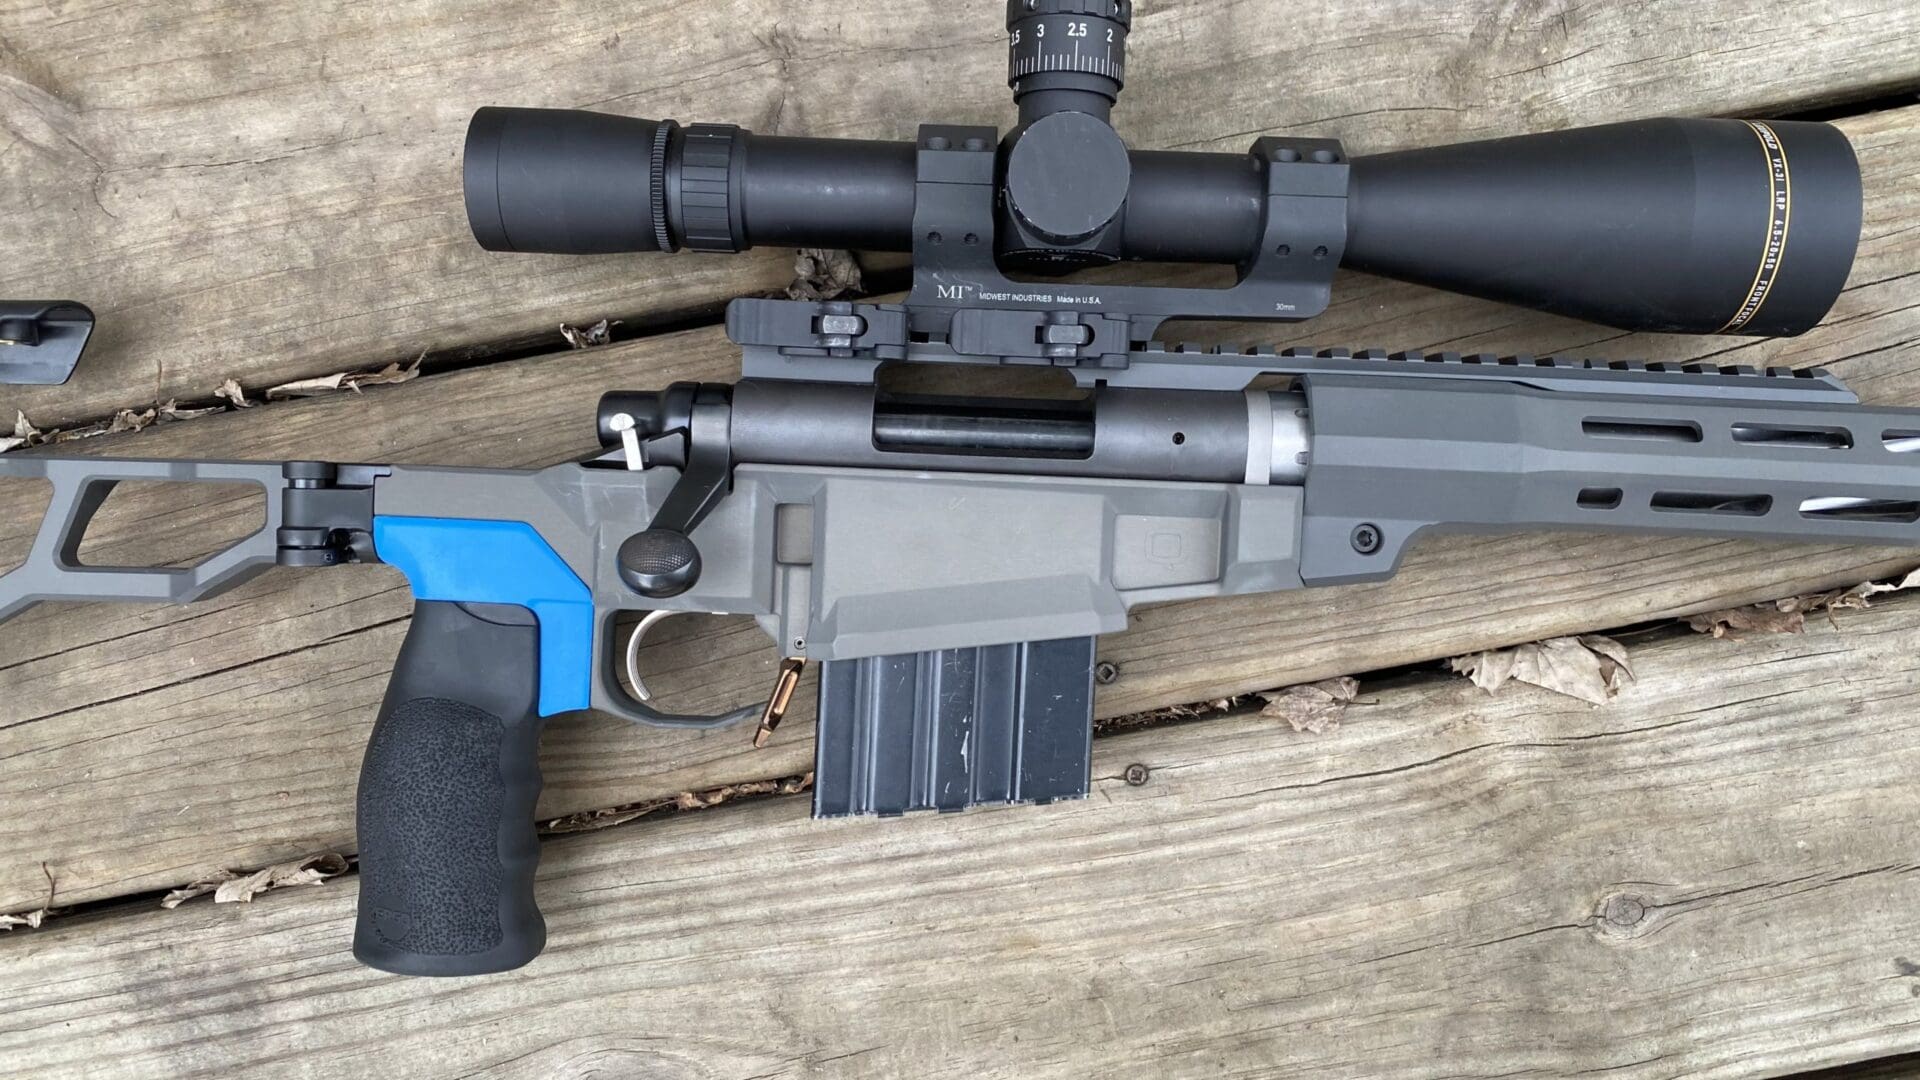
When I started down this road, I only saw a few reviews out there in the wild; just a series from popular outdoor gear reviewer KitBadger and several YouTube videos, but not much from lame mainstream writers like myself.
When I ended up with a spare standard 700 short action, I made some calls and decided to work up a lightweight competition build using only off-the-shelf parts, most of which I sourced from Brownells.
The chassis comes in a nice, colorful box and is partially assembled. Unlike other chassis systems, you’ll need to fully disassemble it before you install it.
With some chassis, you can immediately pop them on the action with a couple of screws, but the Side Chick takes some more effort. It should be noted that the chassis comes with all the tools you need for assembly and adjustment, aside from the bit driver itself.
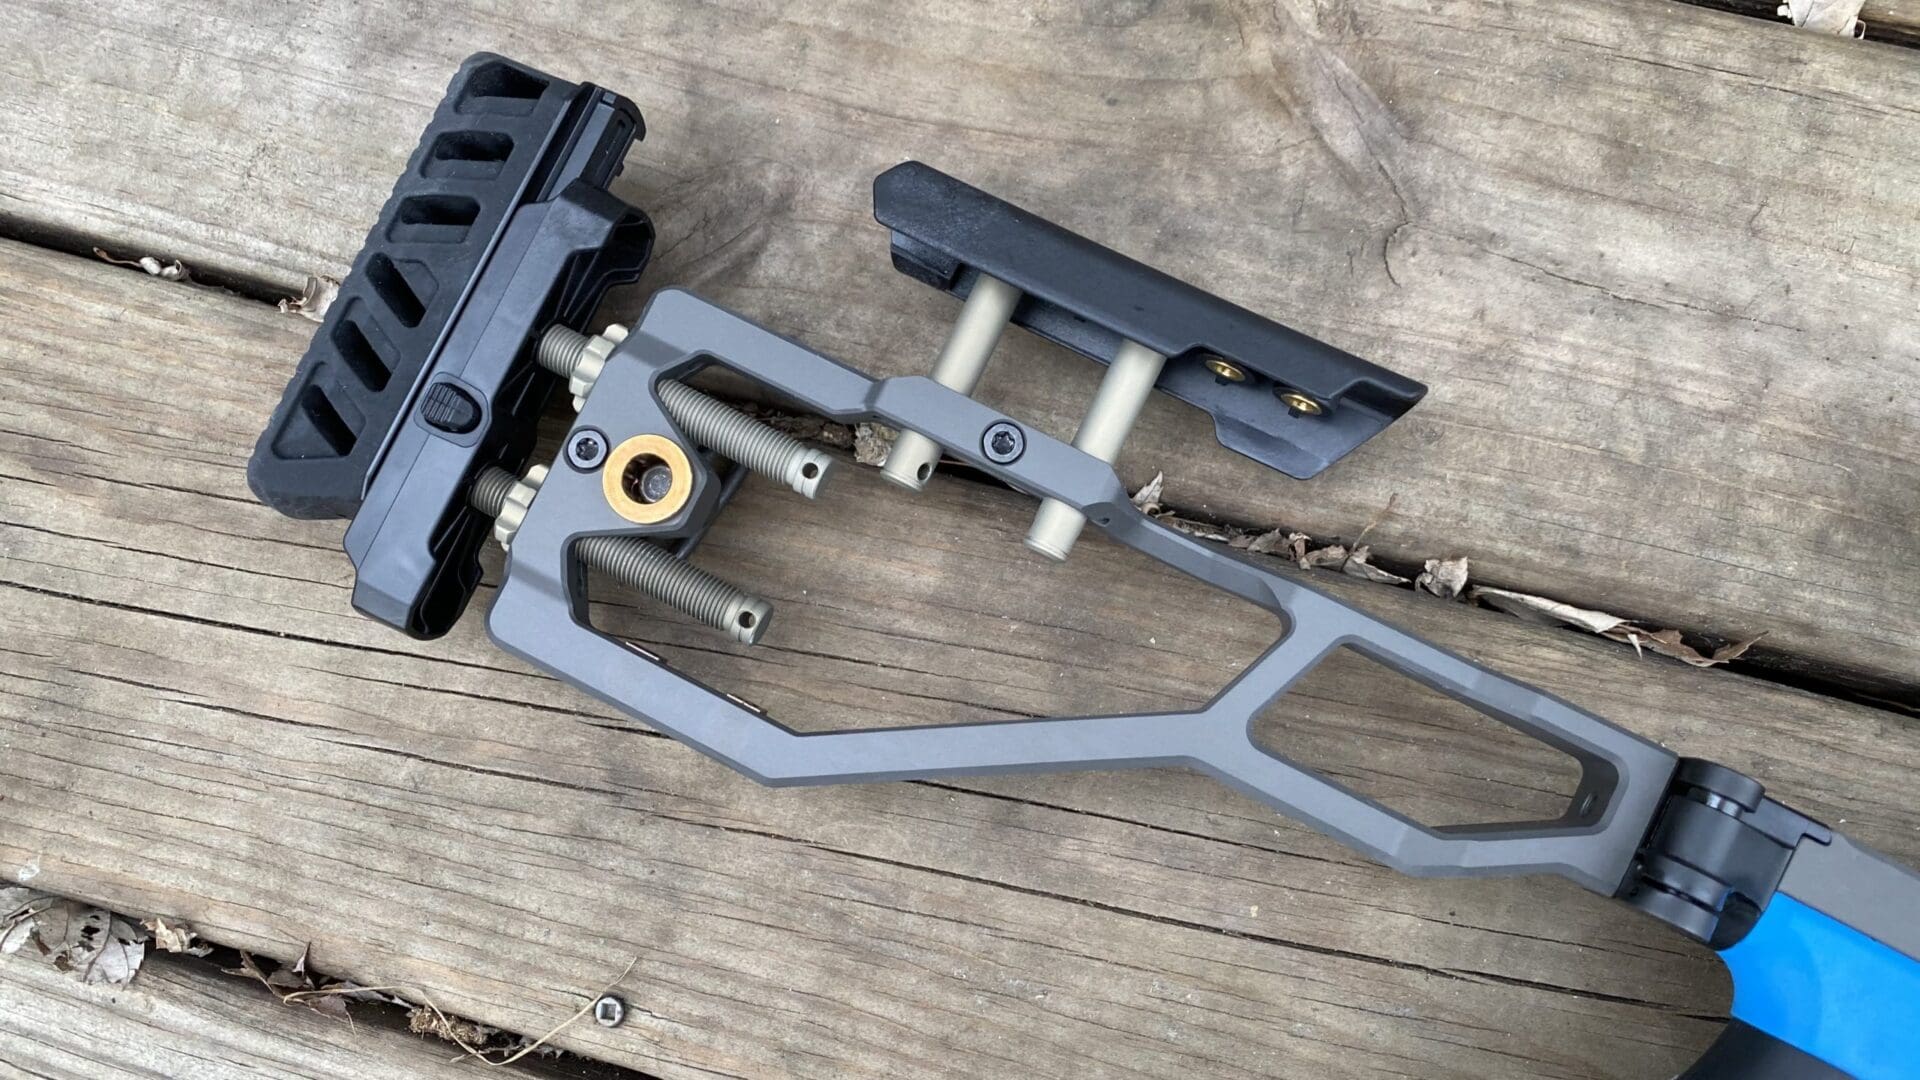
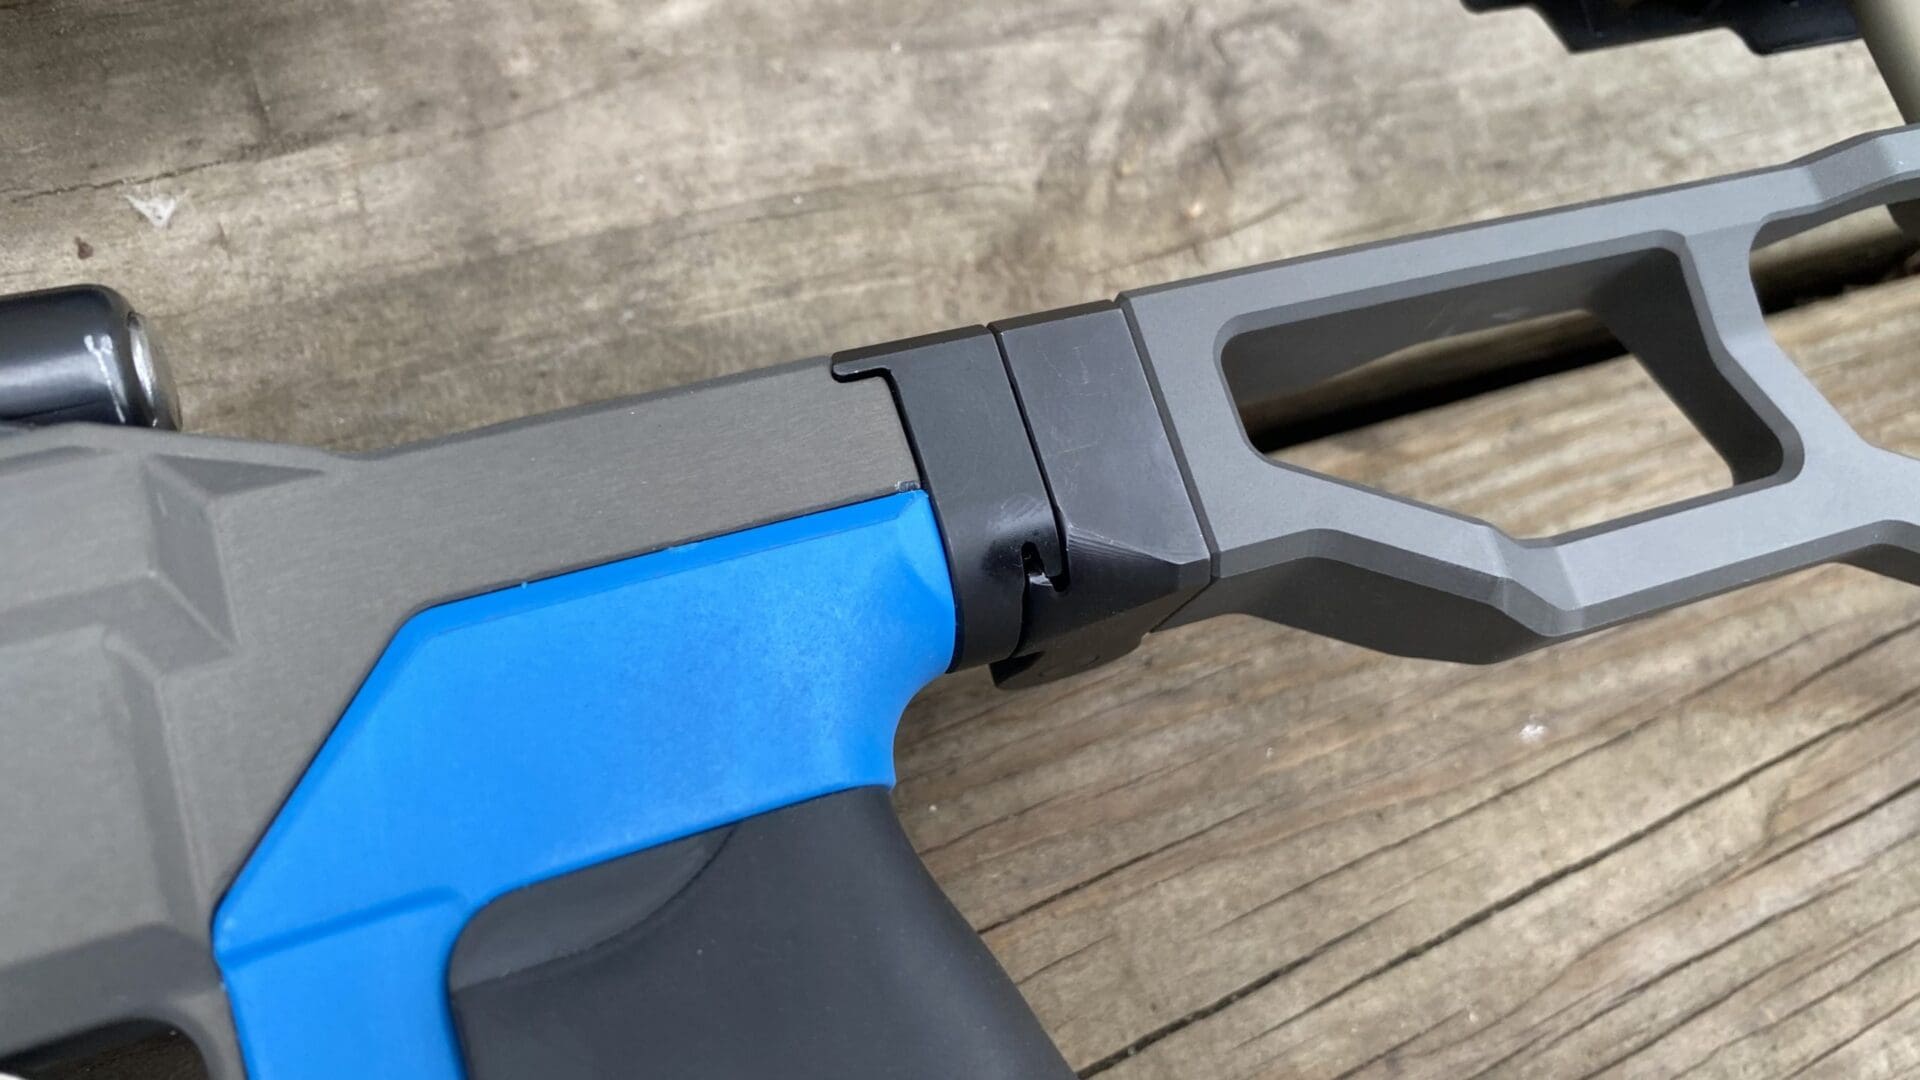
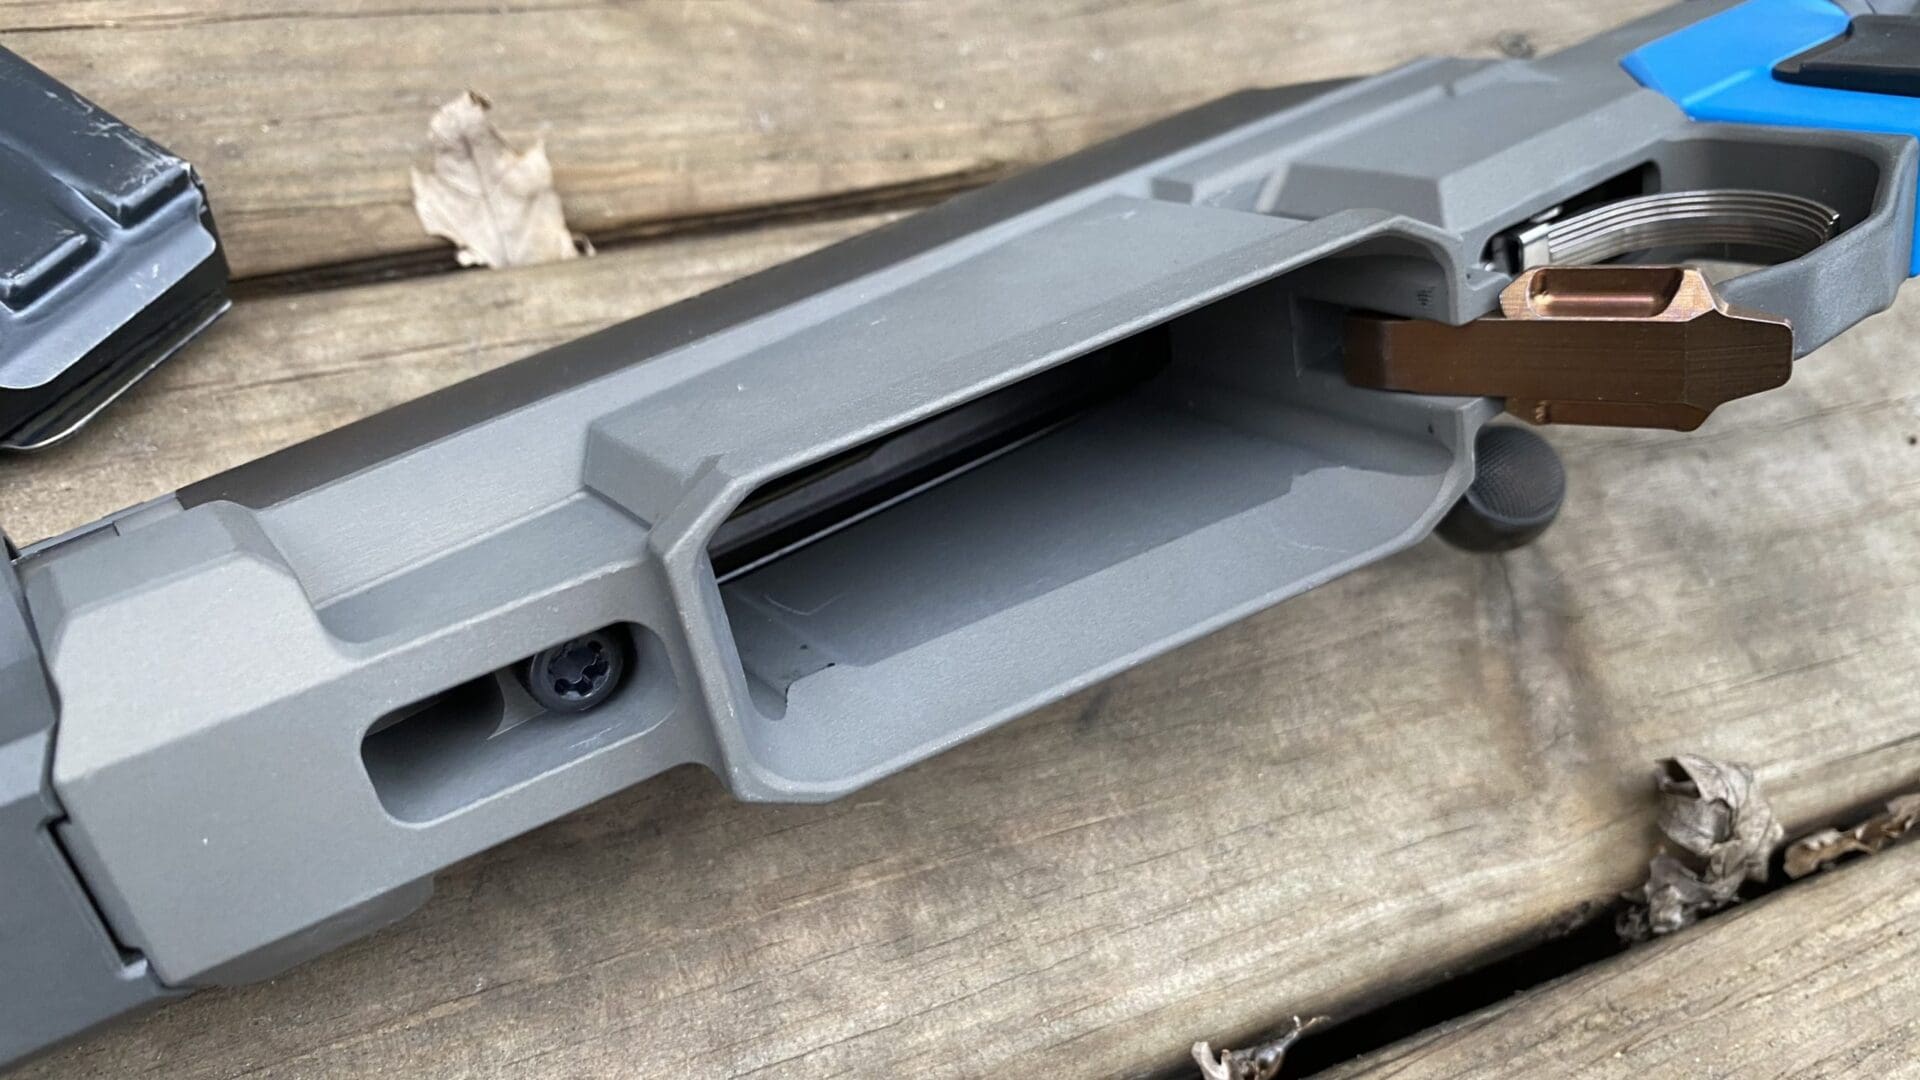
The basic features are all quite minimalist and purely functional. There isn’t any wasted room on the Side Chick. It’s very light and slender. The stock folds and is designed to close over the bolt handle. There may be some issues with some custom bolt knobs, but I didn’t have one of those.
As far as stock adjustability goes, that process is both tool-less and tool-required. The adjustments for length of pull and cheek height are locked in with a screw, but the adjustment for the butt pad is tool-less.
I got an additional accessory for my chassis here aptly called ‘The Big Butt’ which is a thicker and wider replacement butt pad assembly. I wanted this because the rifle I had it in mind was going to be set up for competitions like PRS.
The Build
As mentioned, the basic Remington 700 action, unaltered in any way, formed the core of the build. 700 actions are good, but can be hard to work with in some cases due to some occasionally, ahem, dogsh*t specs. Thankfully, this one was a good one and it didn’t have to be trued out.
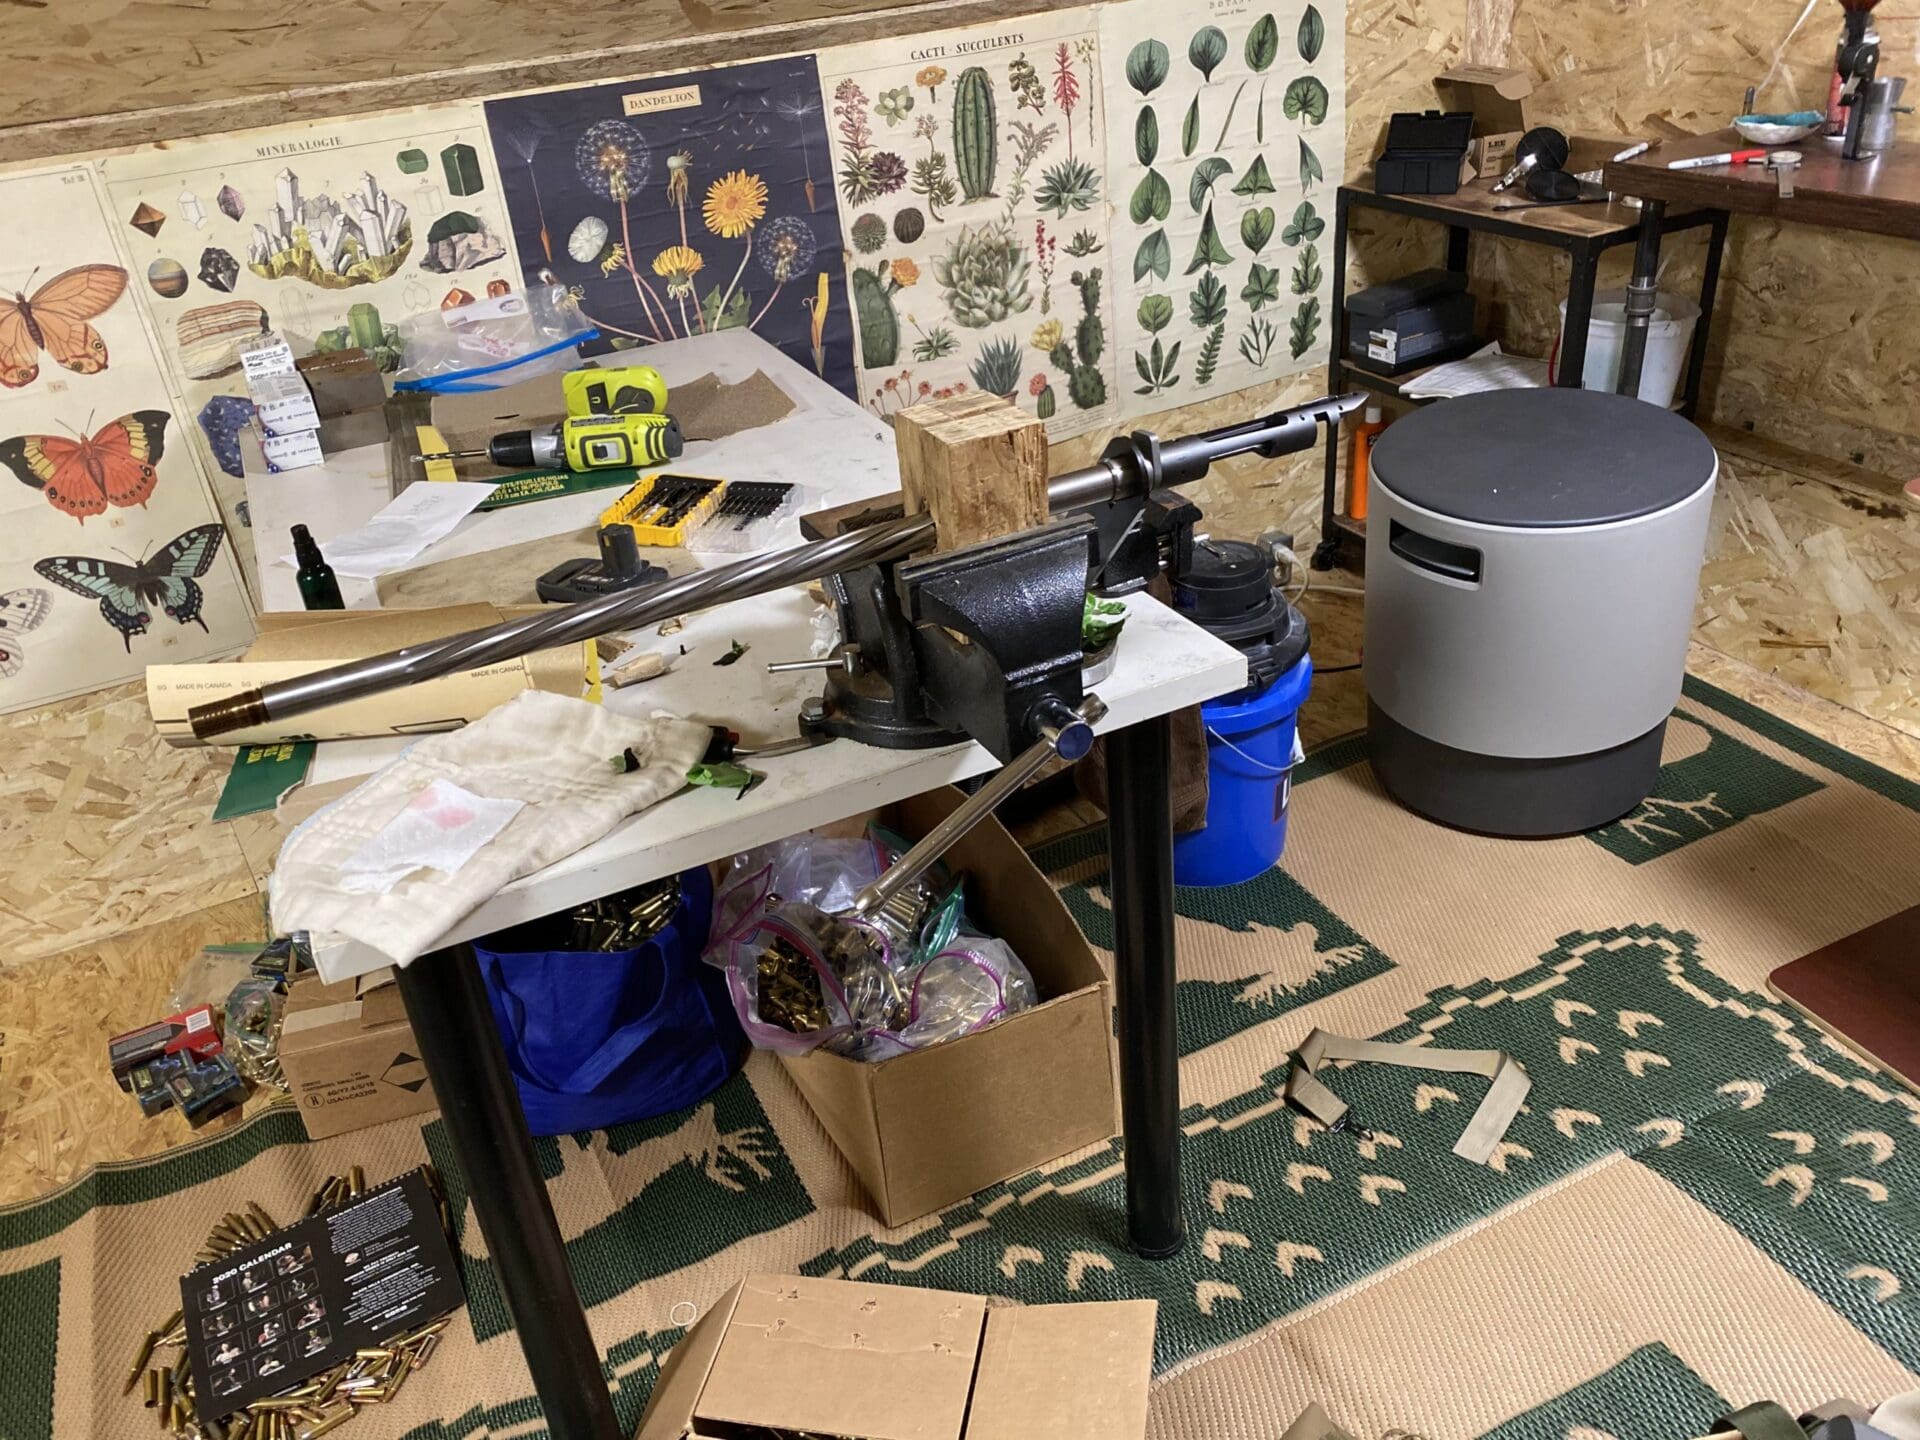
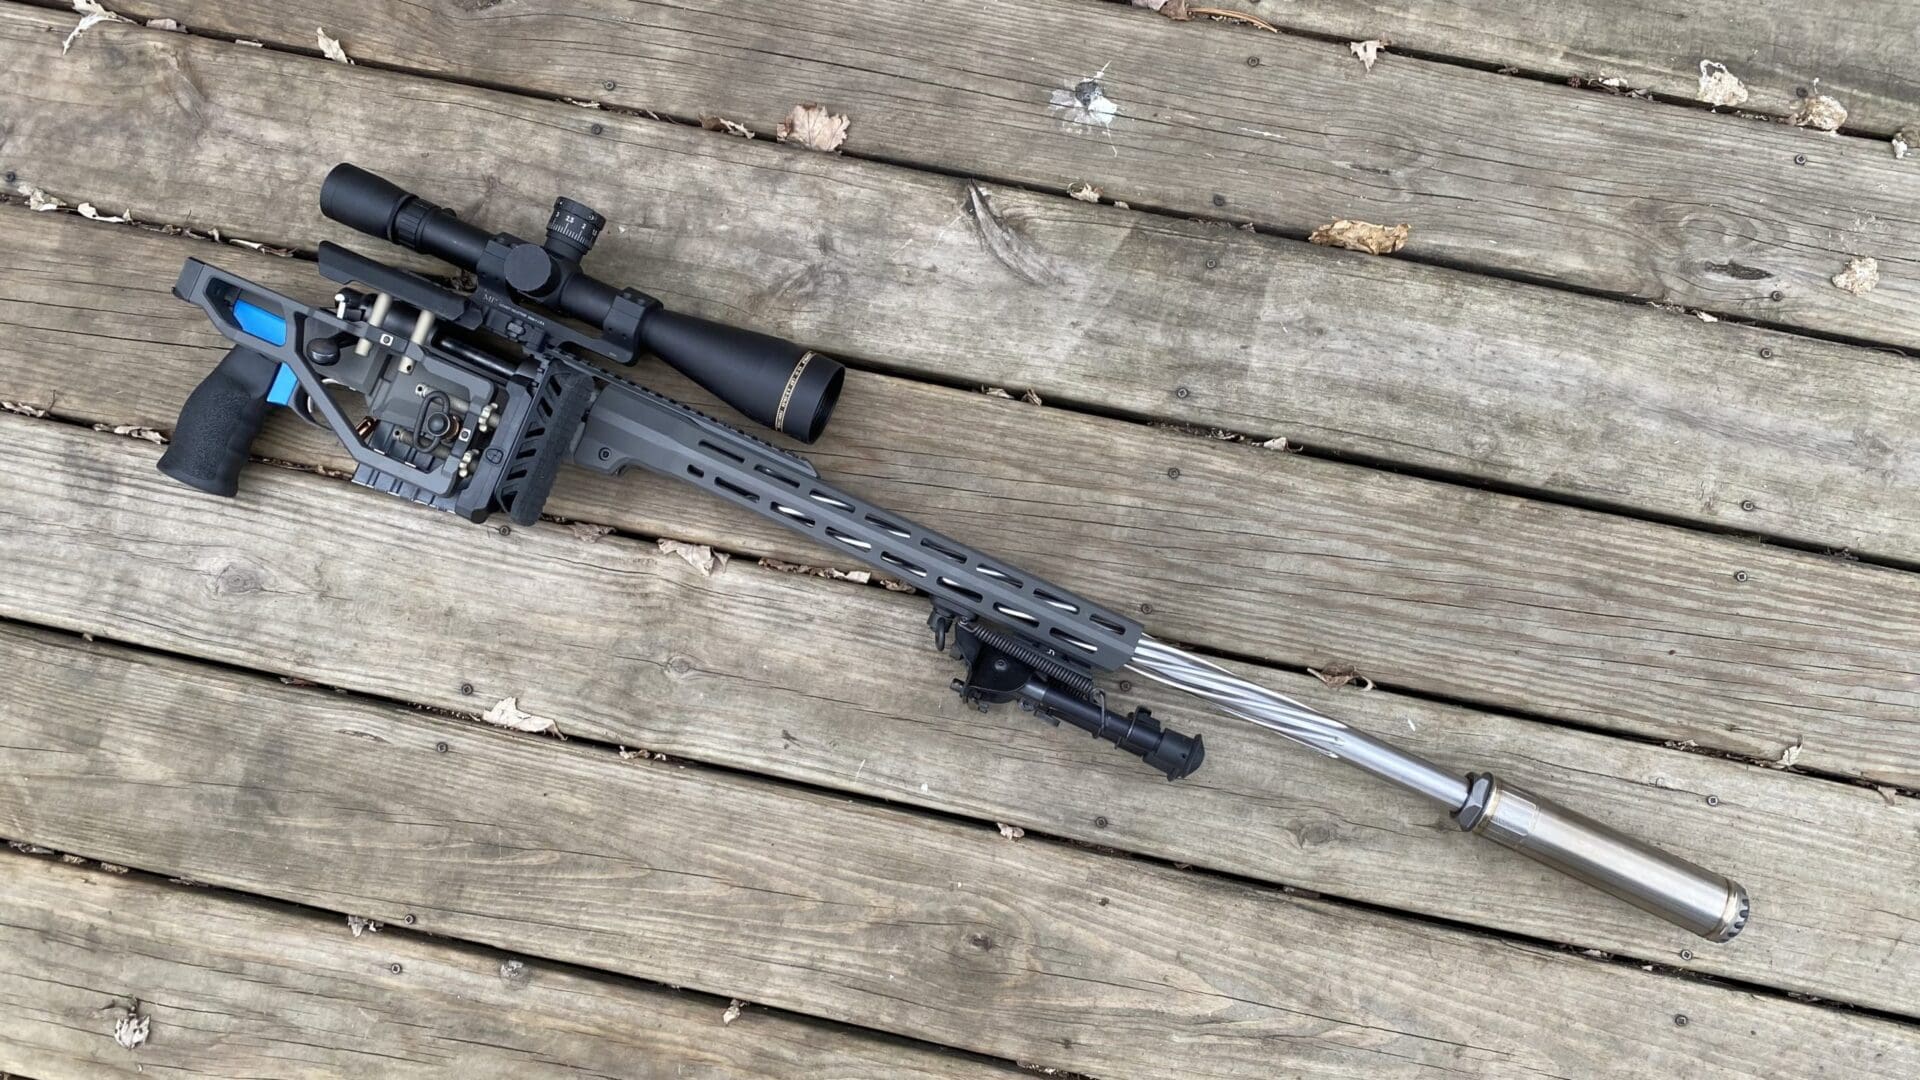
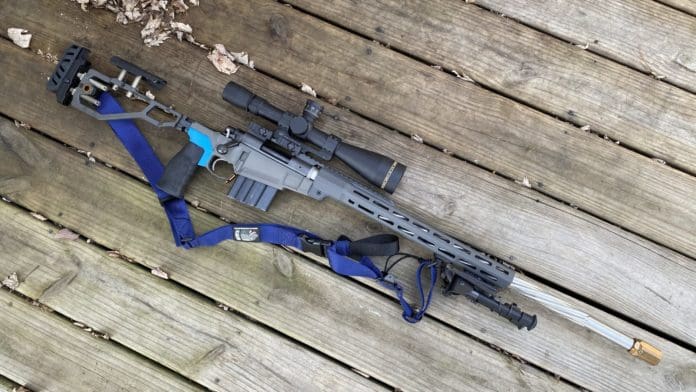
The other parts I decided to to use in my build were a 26” International Barrels Remage (uses a Savage-style barrel nut for headspacing) barrel in 6.5 Creedmoor, a Q Cherry Bomb brake, a TriggerTech trigger, a Giessele Automatics Super Precision 30mm mount (later a Midwest Industries QD mount because I needed the Giessele for another optic in a later review), and a Leupold VX-3I LRP scope.
Most of these parts are available from Brownells, as are the headspace gauges I used and the barrel nut wrench.
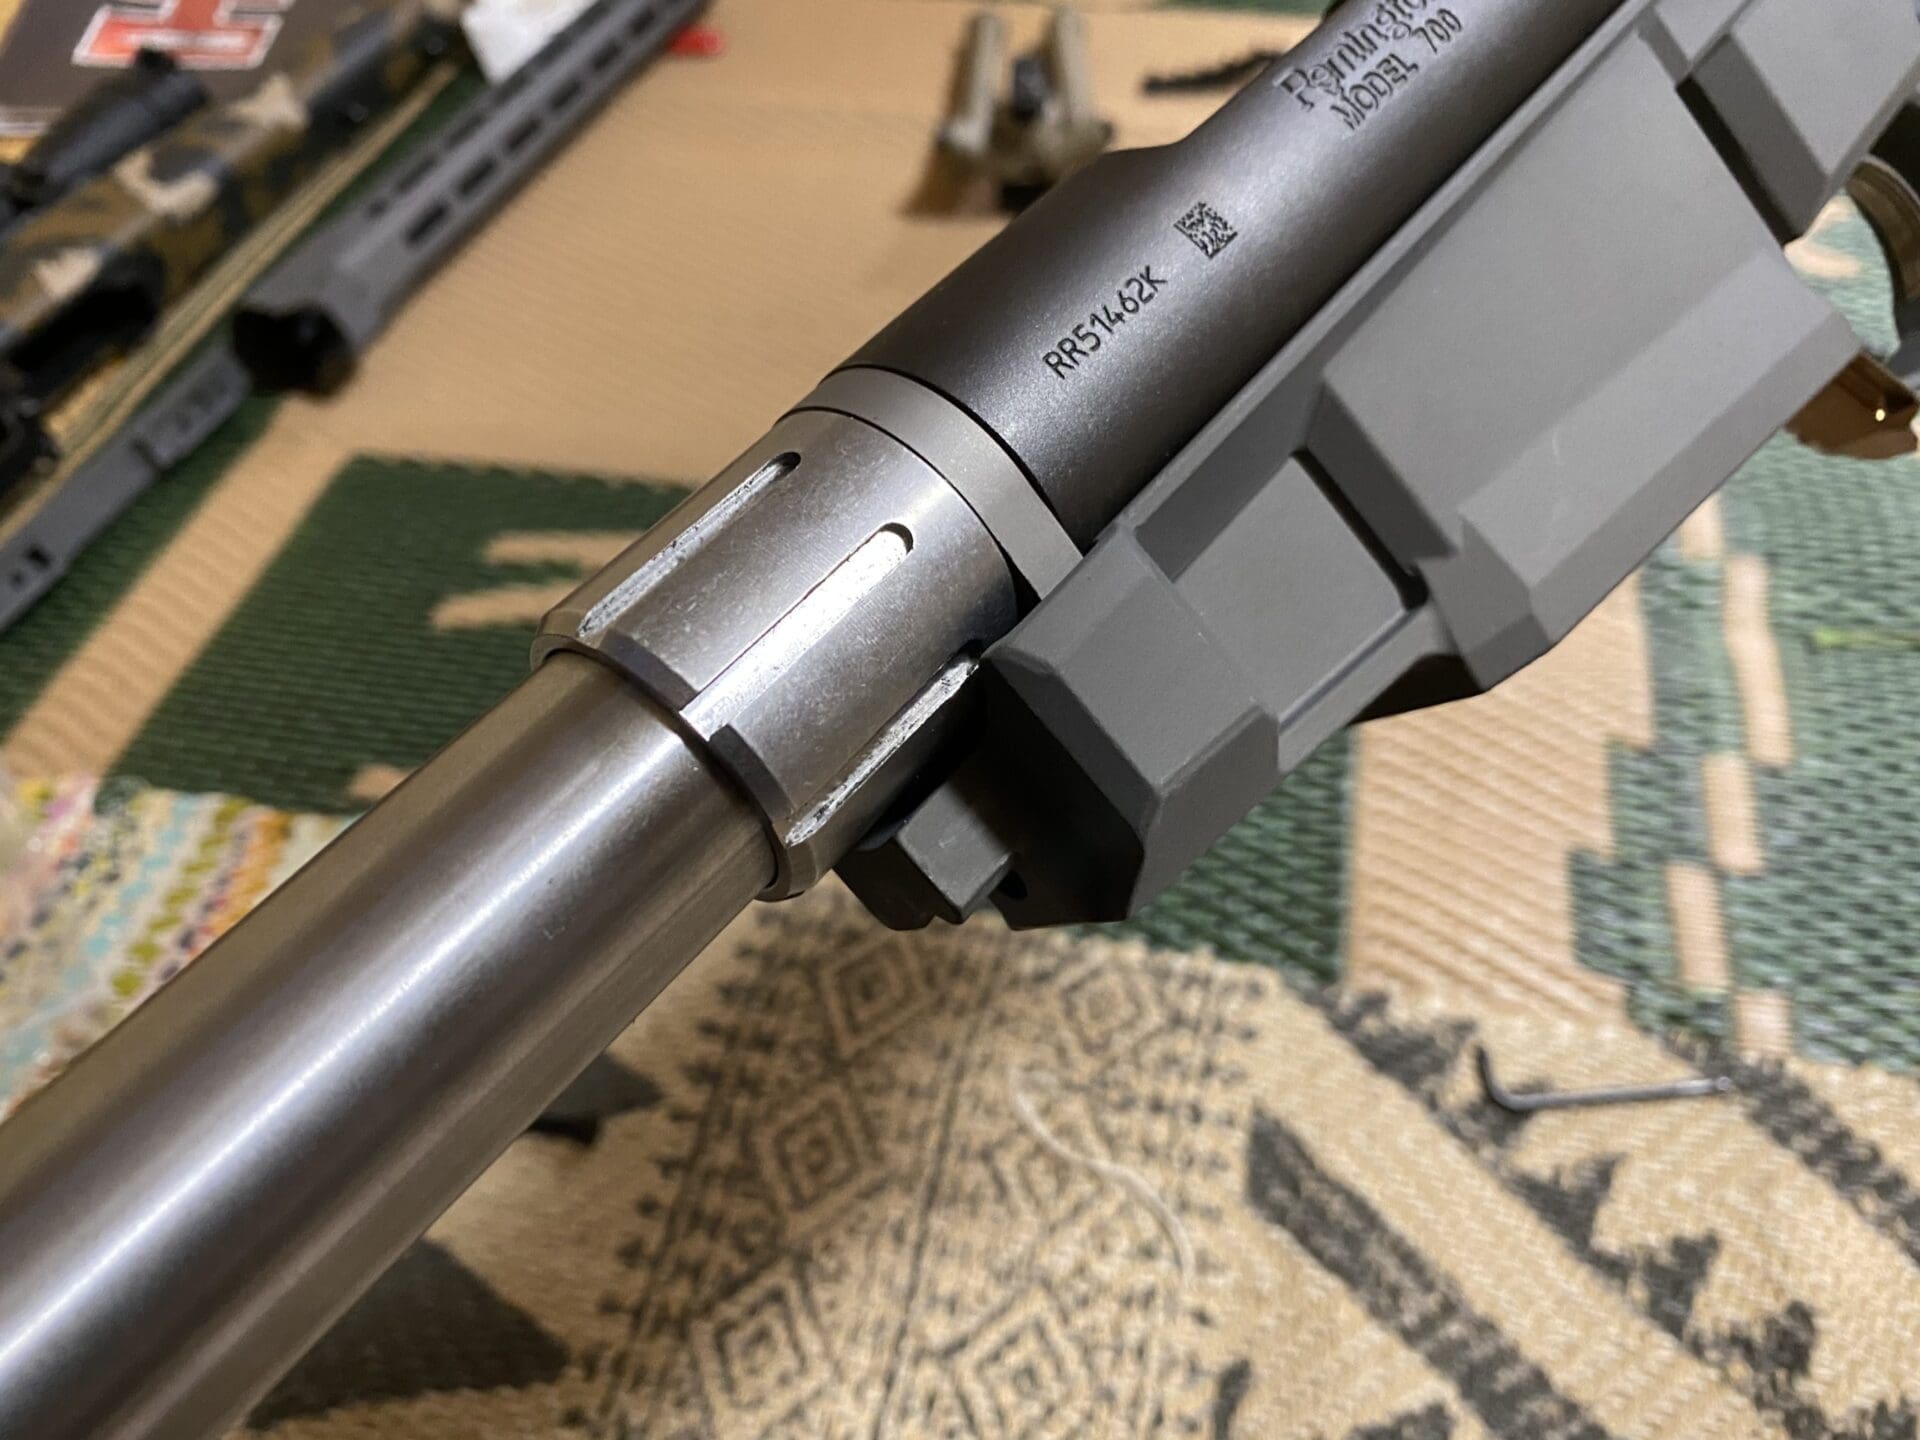
Building the action out is pretty simple. I chucked the barrel up in a vise with wood jaws and spun the action, recoil lug, and nut onto it. I had to remove the ejector for proper spacing. After that, it was just a matter of lining it all up and tightening down the nut.
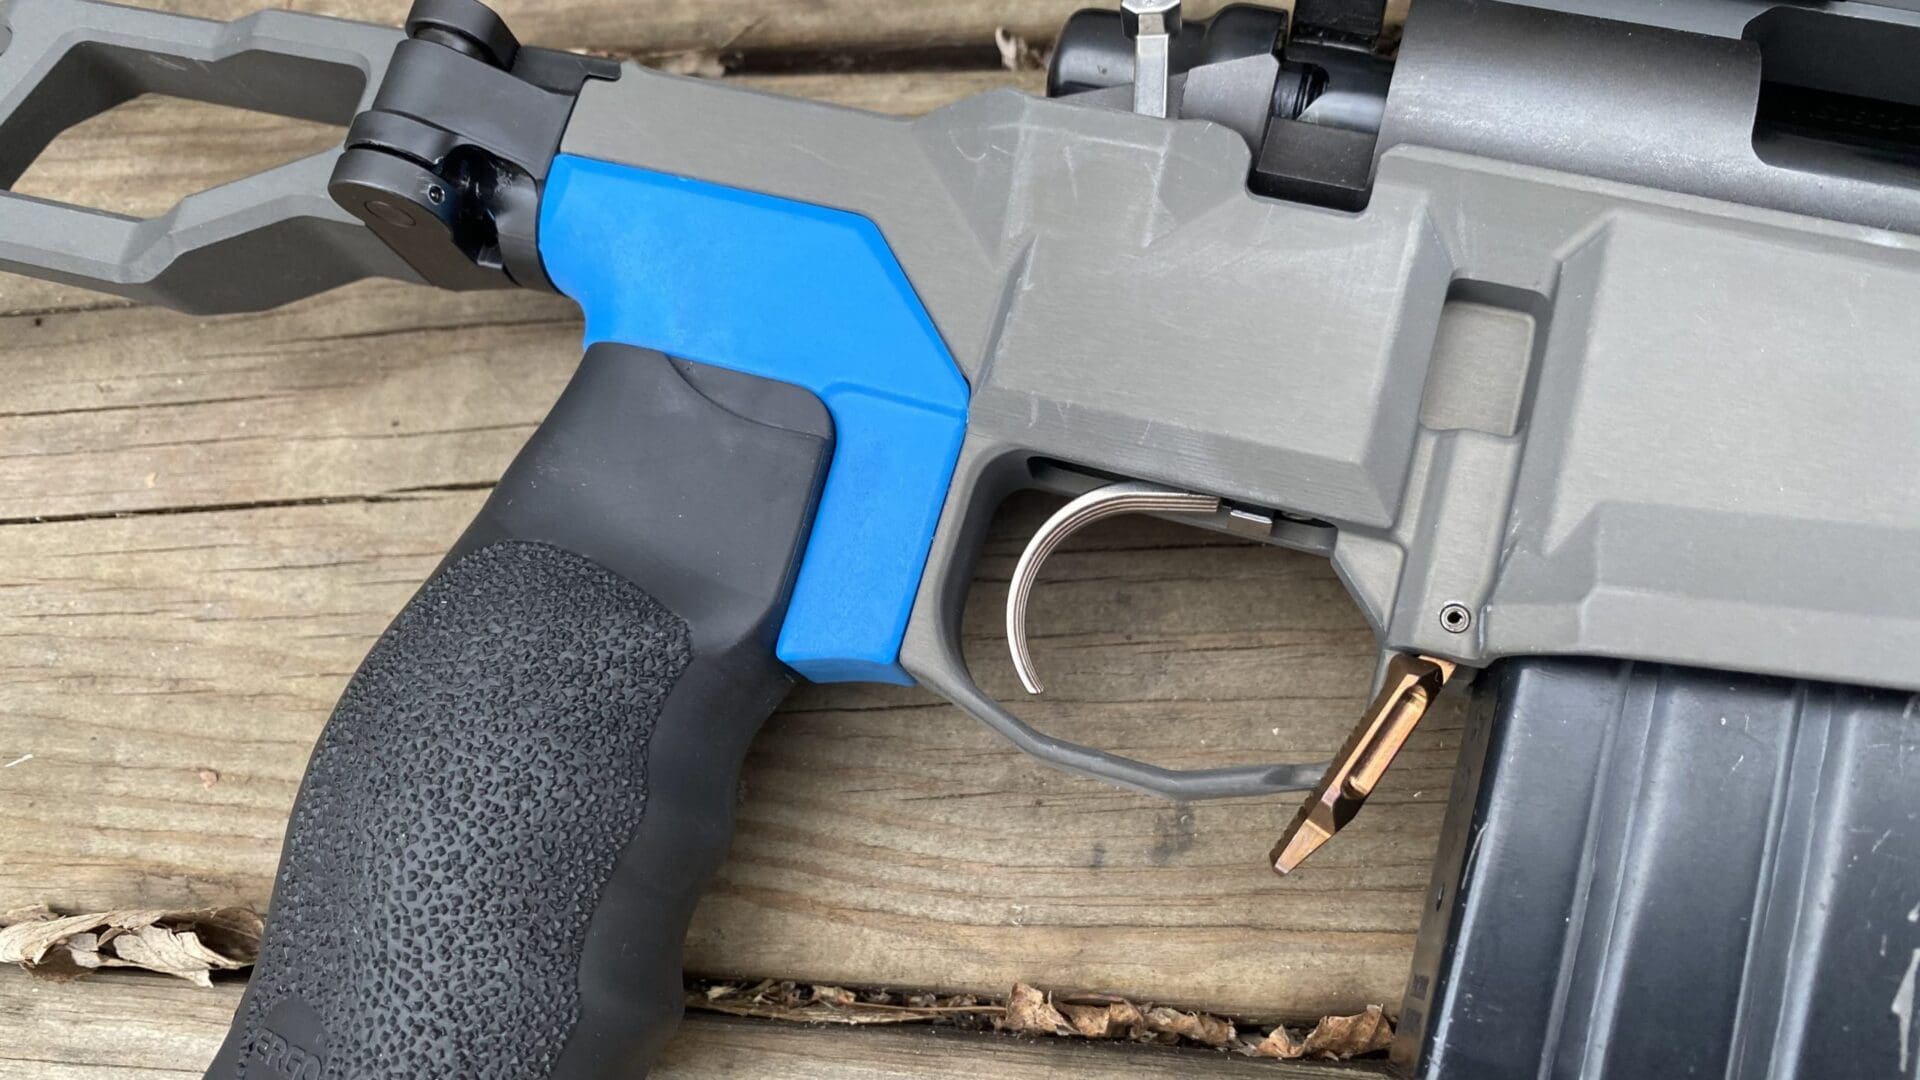
With the headspace done, I installed the trigger and got the Side Chick fully broken down. The entire blue grip module must be removed as a unit to access the rear receiver screw. The main part of the chassis attaches with just these two screws.
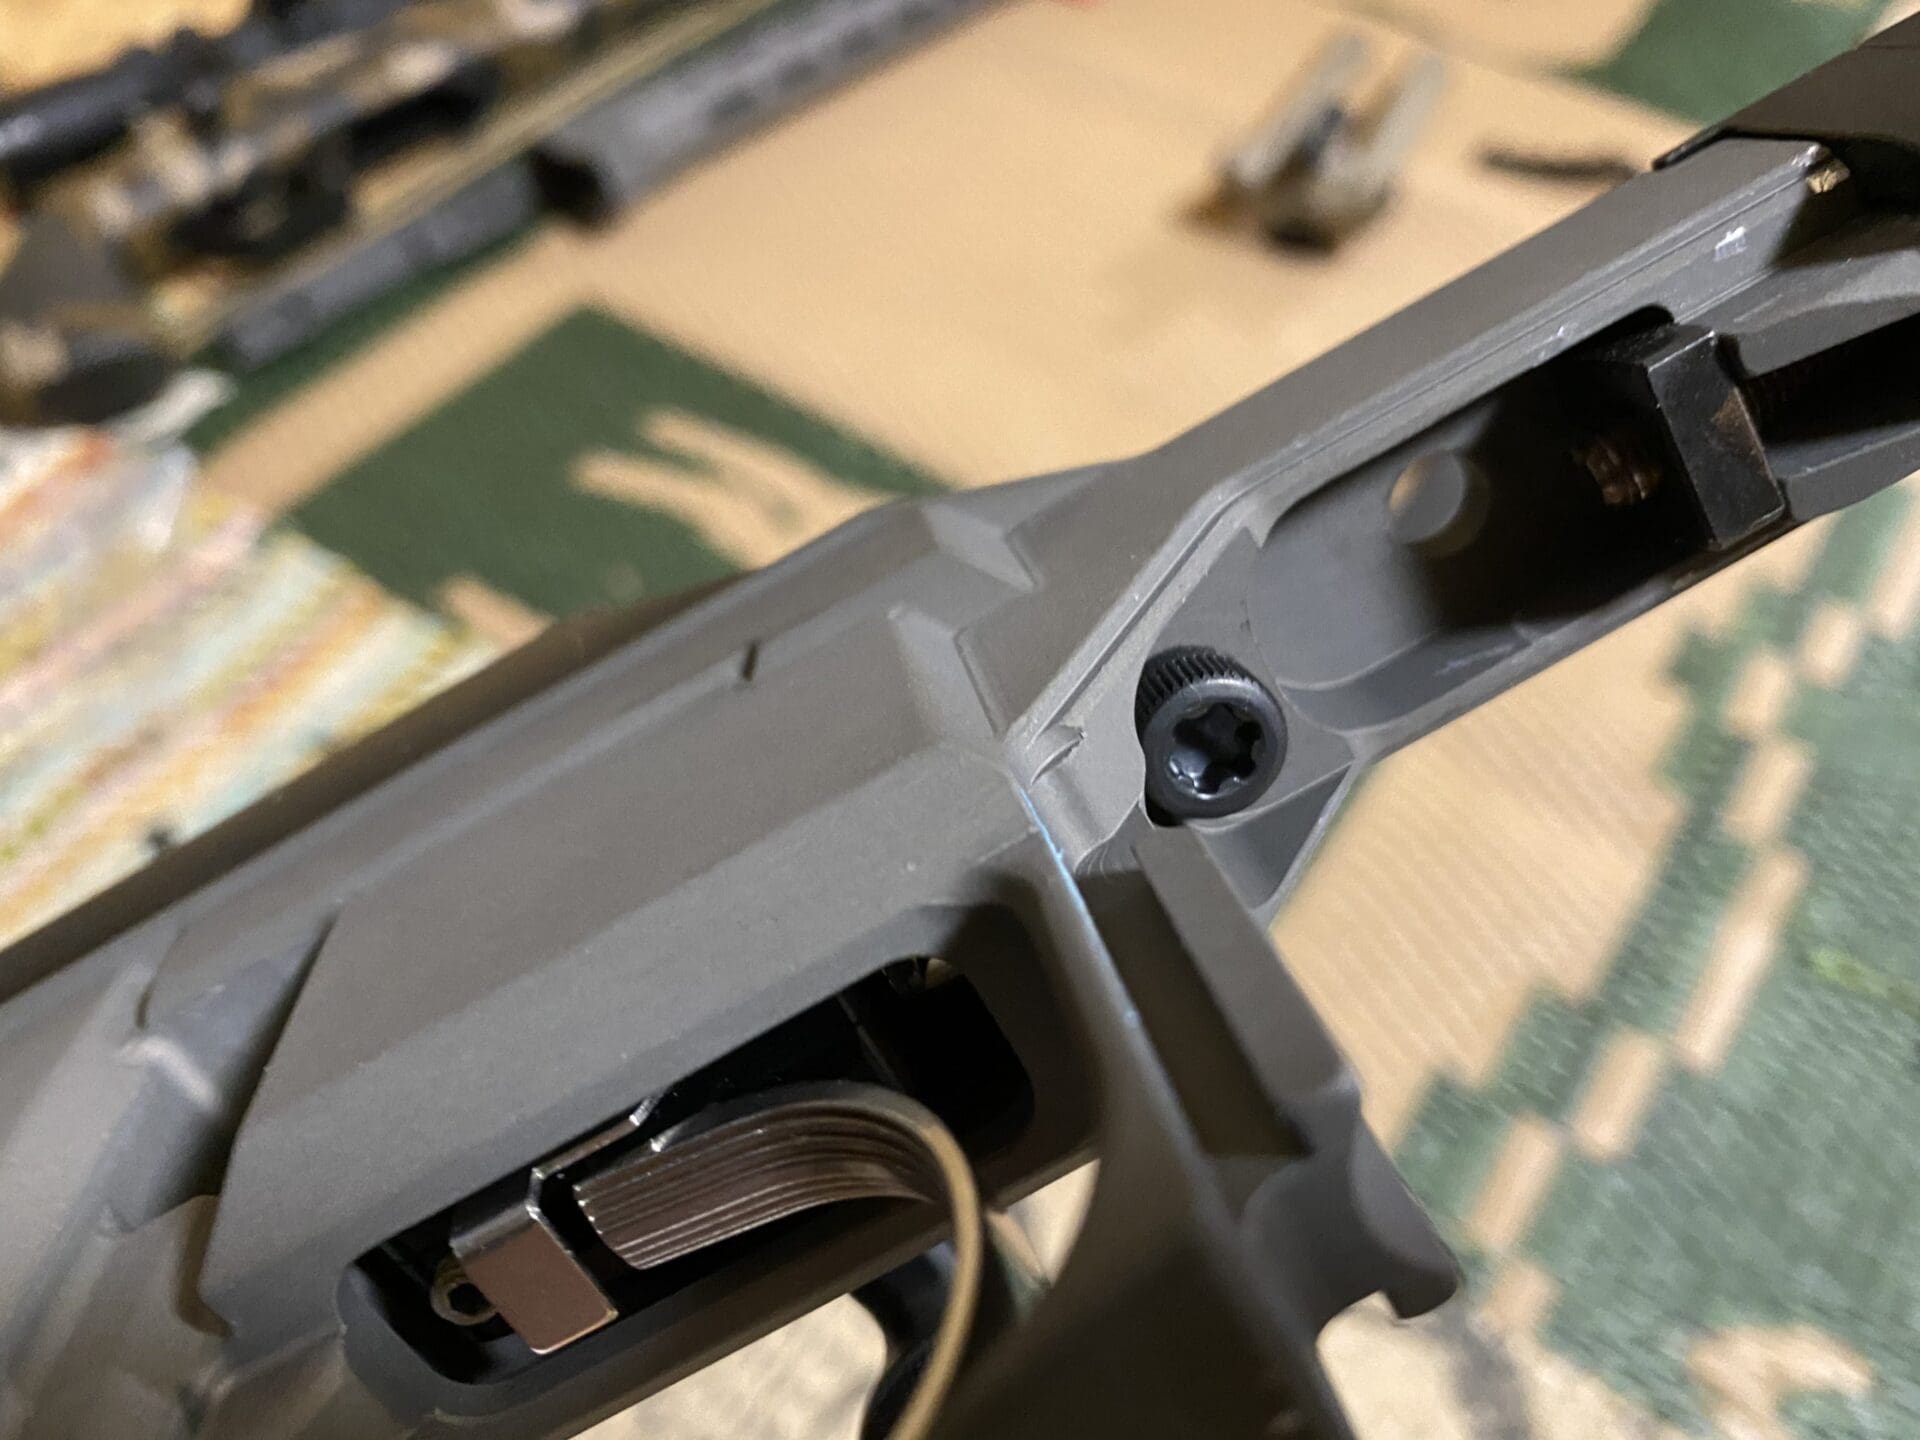
At that point you can choose to change out your grip. I first used a BCM grip, but didn’t like how it felt, so I ended up putting a zero angle Ergo grip on instead. I have big hands and this grip works for me even thought I’m not a fan of the rubber overmold.
The grip can’t be changed without taking off the entire blue module on the Side Chick chassis using the screw above it in the top of the chassis.
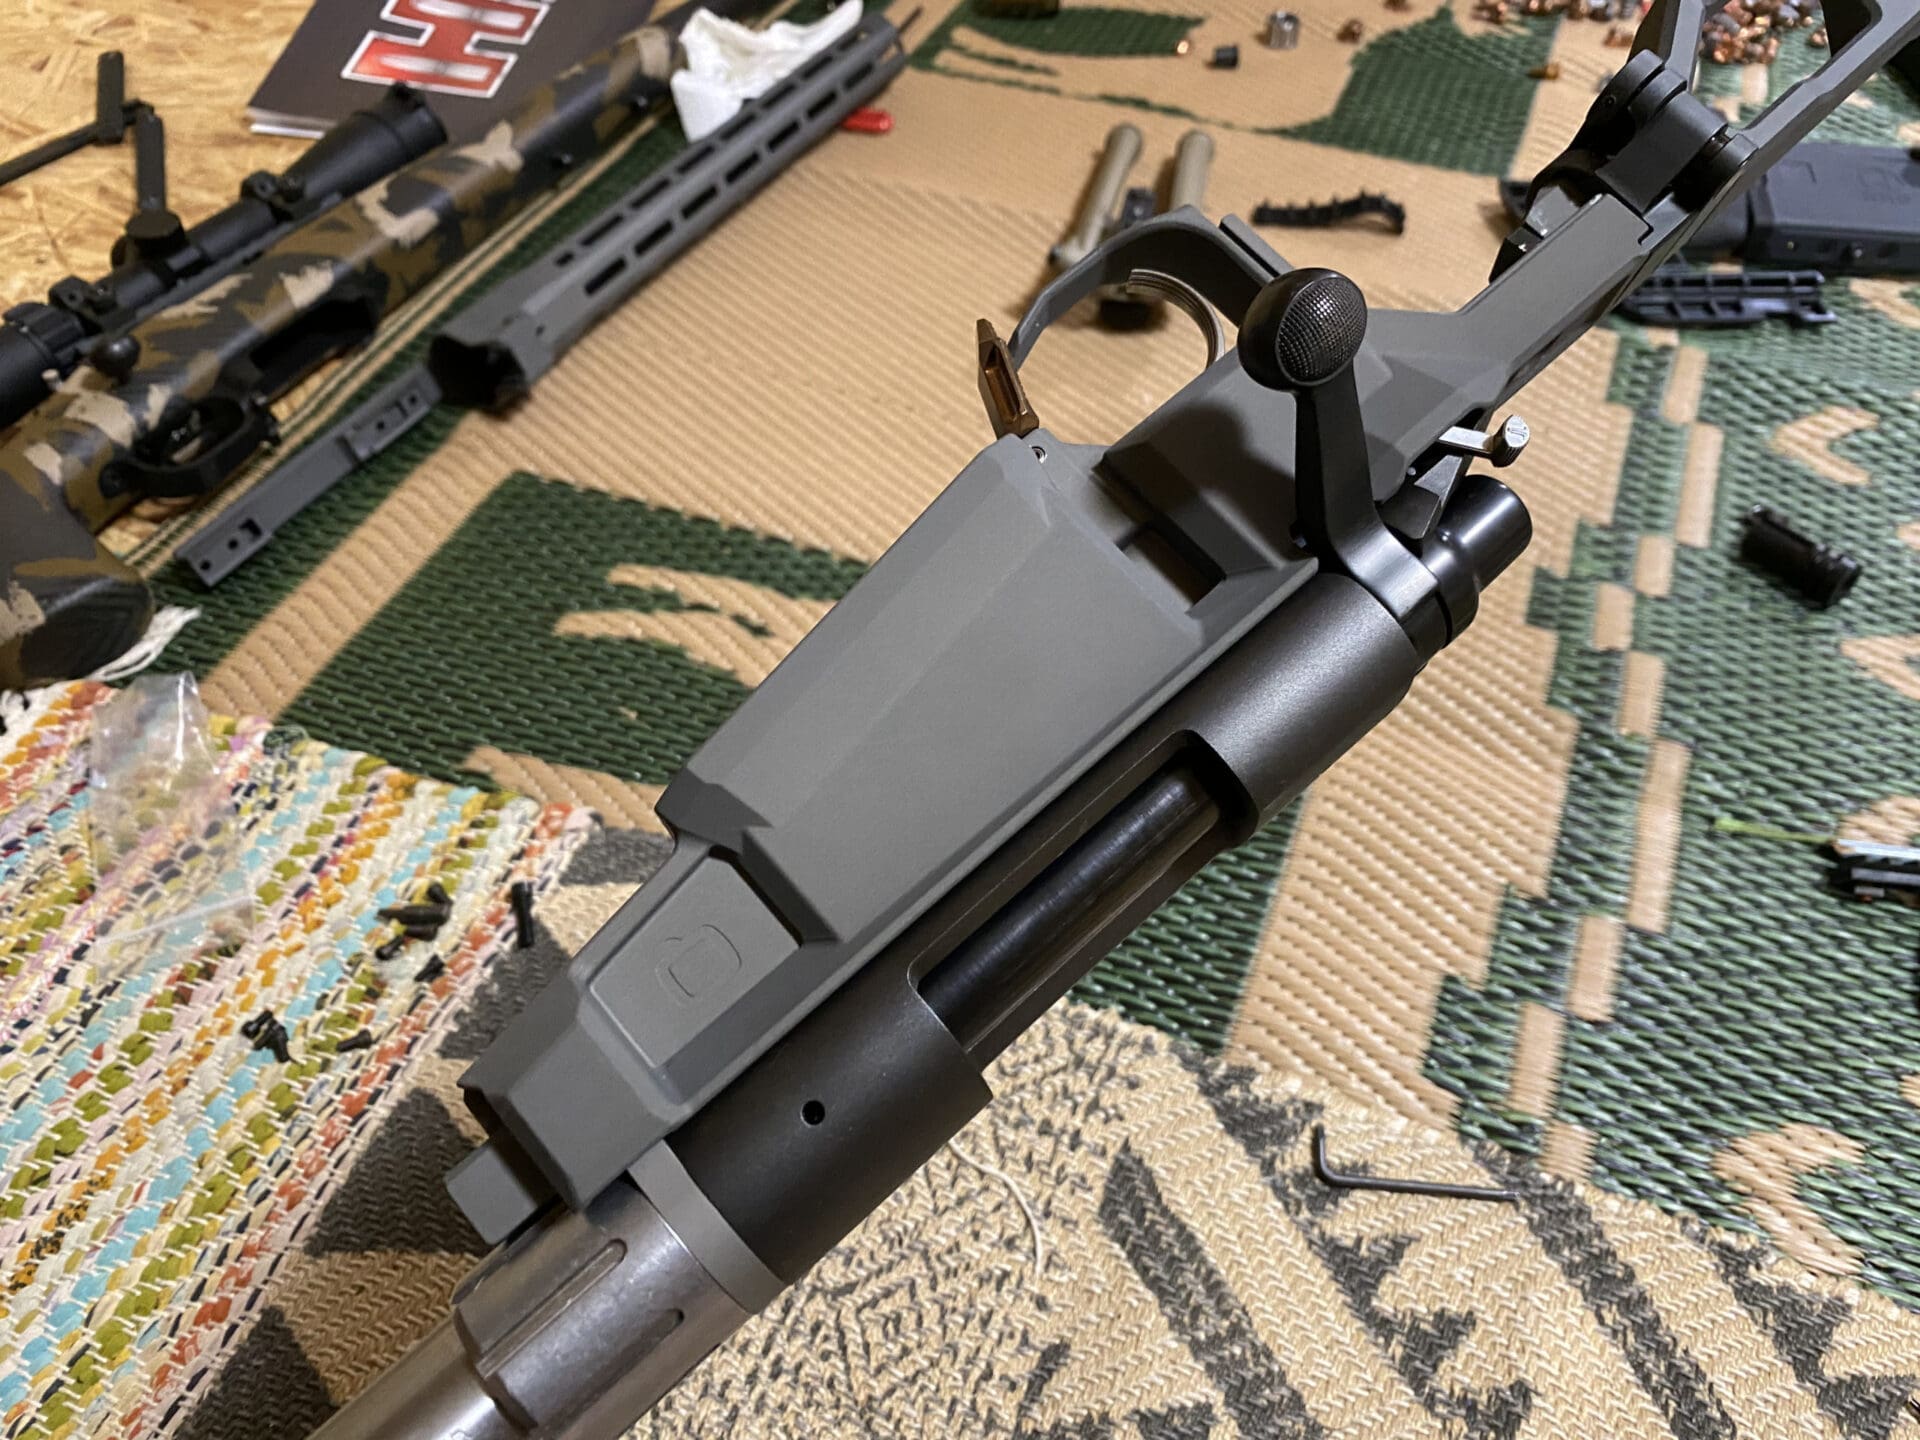
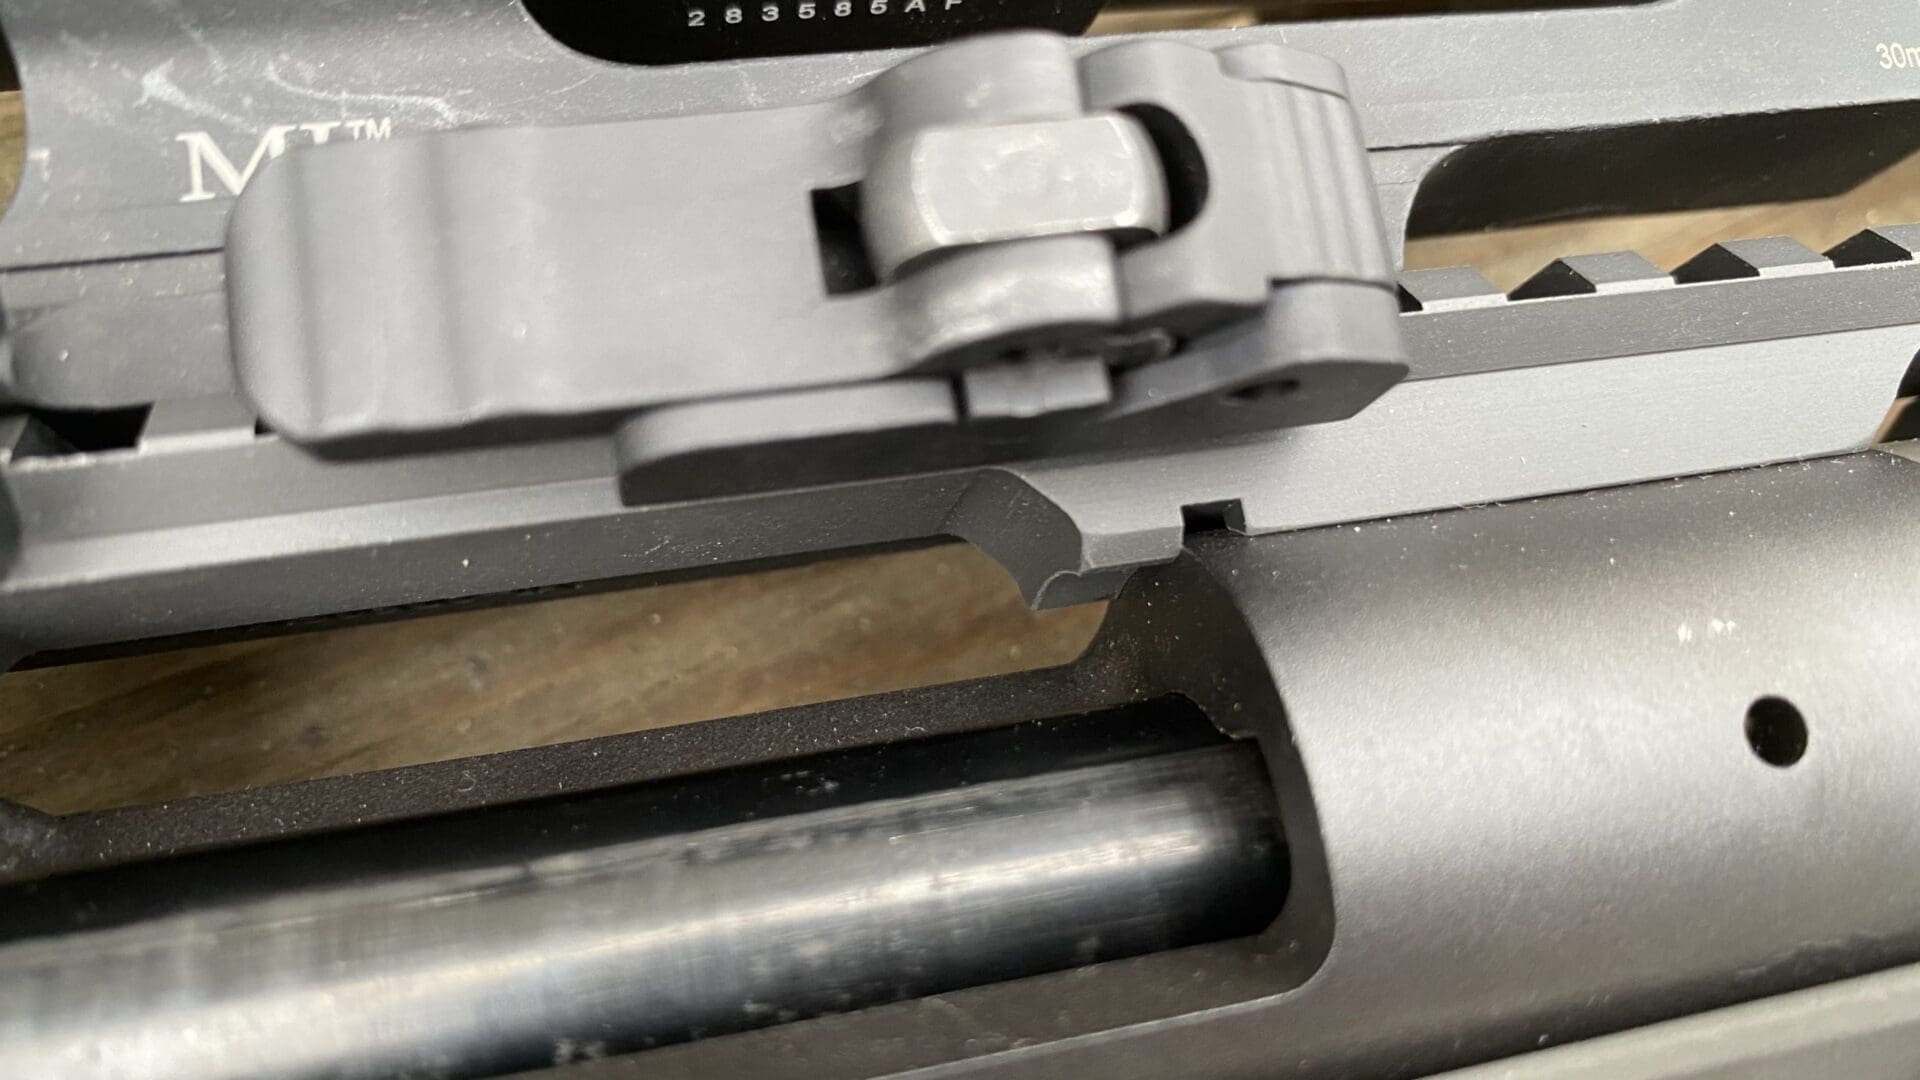
The handguard installation is easy enough and it’s accomplished with two screws, one through front to back and a tension screw side-to-side. You’ll want to keep these just a little loose for attaching the scope rail.
Doing the scope rail is multi-step. Just get the receiver screws in place and tighten them, then tension down the screws into the handguard. After that’s done, tighten down all remaining screws and you’re ready to go.
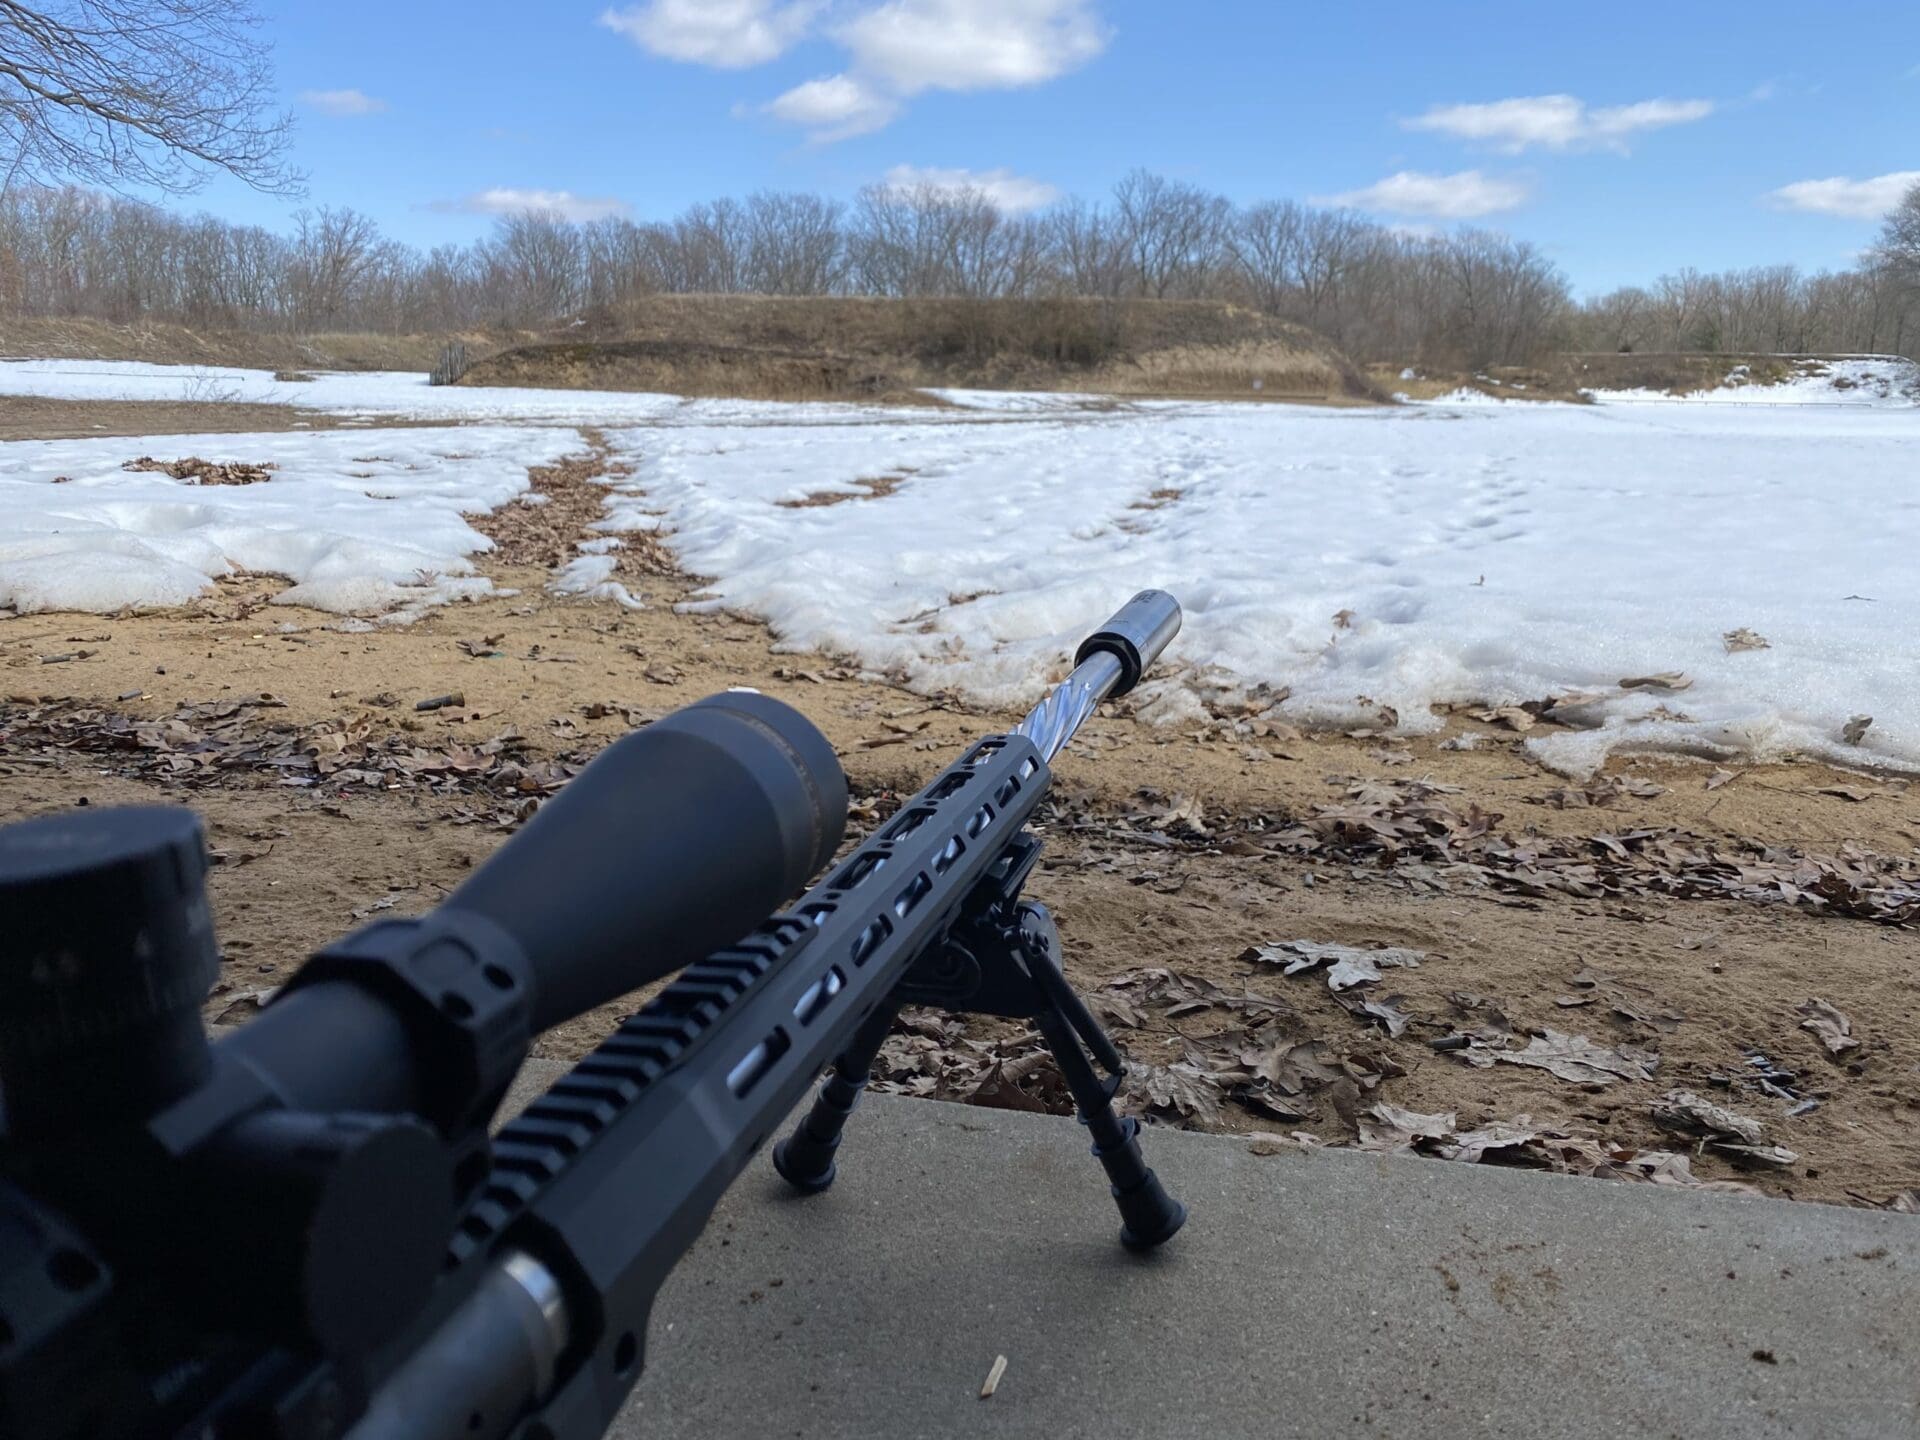
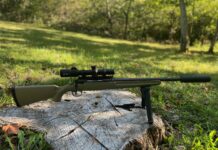
The finishing touches were to add an MLOK bipod mount and Q Cherry Bomb brake cover. The custom sling in the photos is made for this project in blue by Short Action Precision. They can make a high-grade competition sling in pretty much any color you like.
Shooting the Side Chick
The chassis was easy enough to adjust for multi-position shooting. The only real problem I had was that my scope had a relatively short amount of eye relief, so I had to place it somewhat far back into the mount, making it look a little odd in my opinion. The function is there and I have other optics that will be used on the rifle, so I just decided to roll with it as-is.
I’m not a believer in routine break-in procedures so I just got to work with some factory loaded BHA 143gr and Hornady 140gr 6.5 Creedmoor ammo. I fired my initial groups at 100 meters and they were already printing at .75” for five shots. Pretty good in my book.
I got the optics zeroed and backed off to 200 meters, which is usually my zero distance for competition at long range. I again fired groups and was happy that I was getting about 1.5” at that range for five shots with factory loads.
I kept at it for the better part of an afternoon and by the end of that time I was quite proficient in shooting in several positions, both supported and unsupported. Not bad for a slap-together build.
I couldn’t find any negatives with the Side Chick itself. The total package was a bit more front-heavy than I would like and this chassis is really begging for a shorter barrel and probably a lighter one, too.
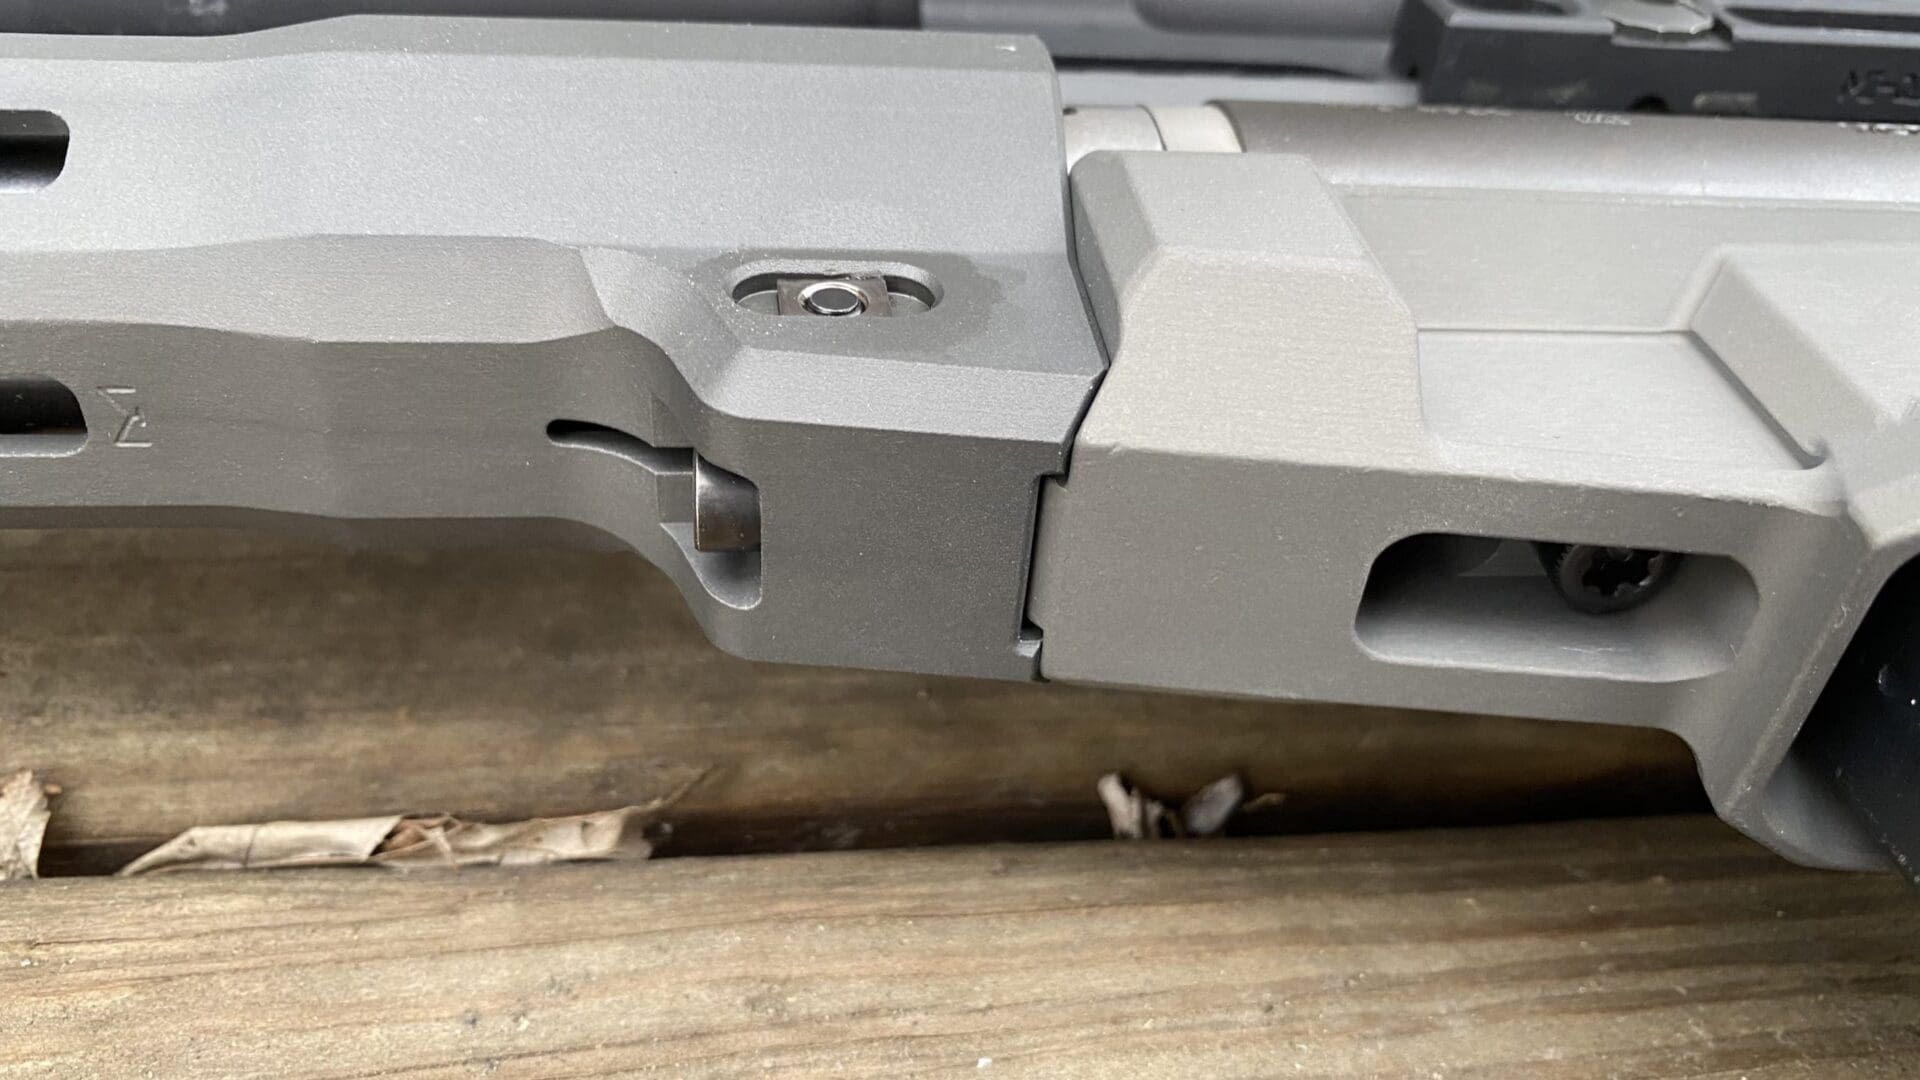
The main issue I have with the thickness of the barrle isn’t necessarily the weight, but the fact that it’s hard to install some MLOK accessories. The interior width of the handguard is quite trim and there is more space in the lower part than the top. That means you’re not going to be able to mount the same accessory in just any MLOK slot using a barrel as thick as the one I chose.
Final Thoughts
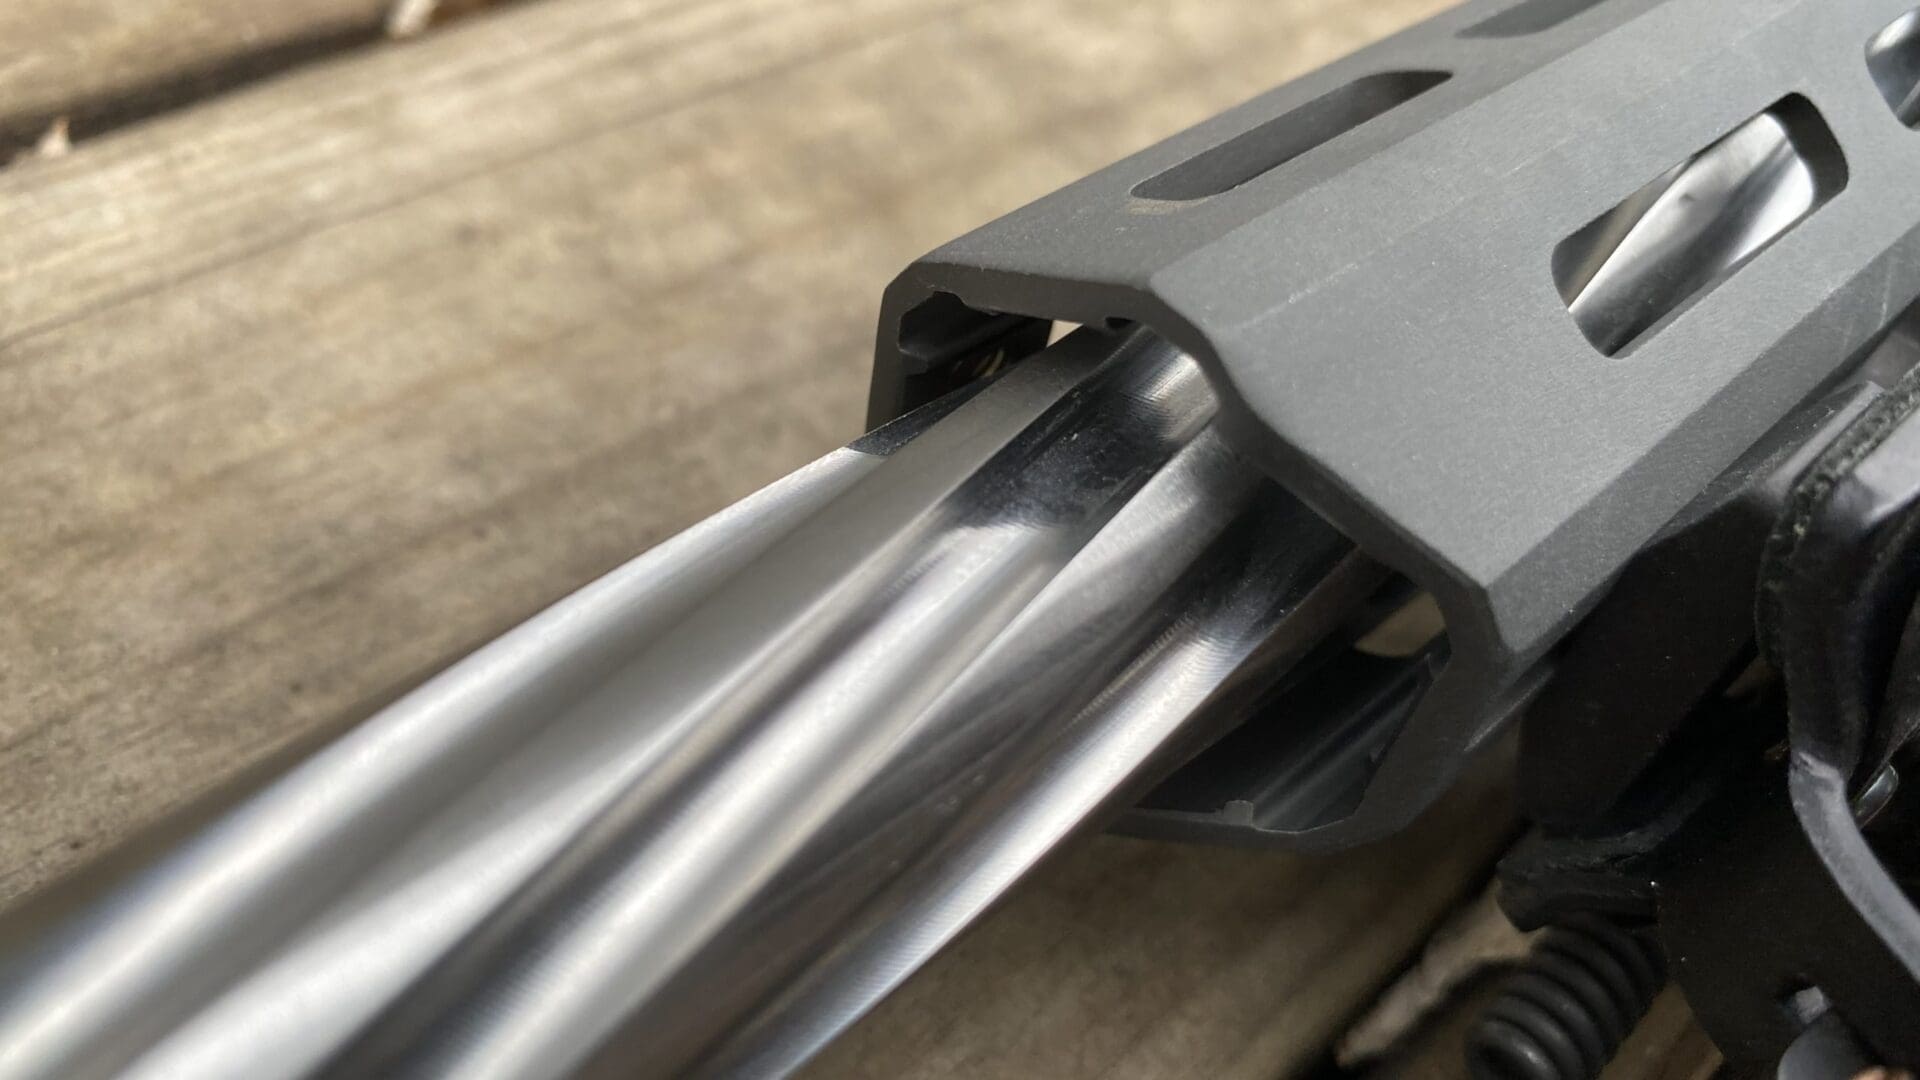
I have to say that this is an impressively light and handy chassis. I really wish I had the foresight to go with a lighter barrel, but luckily that’s something that I can change down the road should I choose.
The Side Chick chassis is a great upgrade for any standard 700 short action and I really wouldn’t hesitate to try it out on a custom action should one come through my rotation.
The $1,200 Q Side Chick chassis is solidly built, very well machined, and I can’t find a problem with it. Some people I know don’t like those blue accents, but I think it looks nice and gives the chassis an unmistakeable appearance.
Update
While the 26” barrel was used in the original test and photography, it was always my intention to use a shorter barrel and go for a lighter overall setup. Unfortunately, as is the case with the whole industry, supply and demand have left me few options to bring you content with in the timelines appropriate for publication.
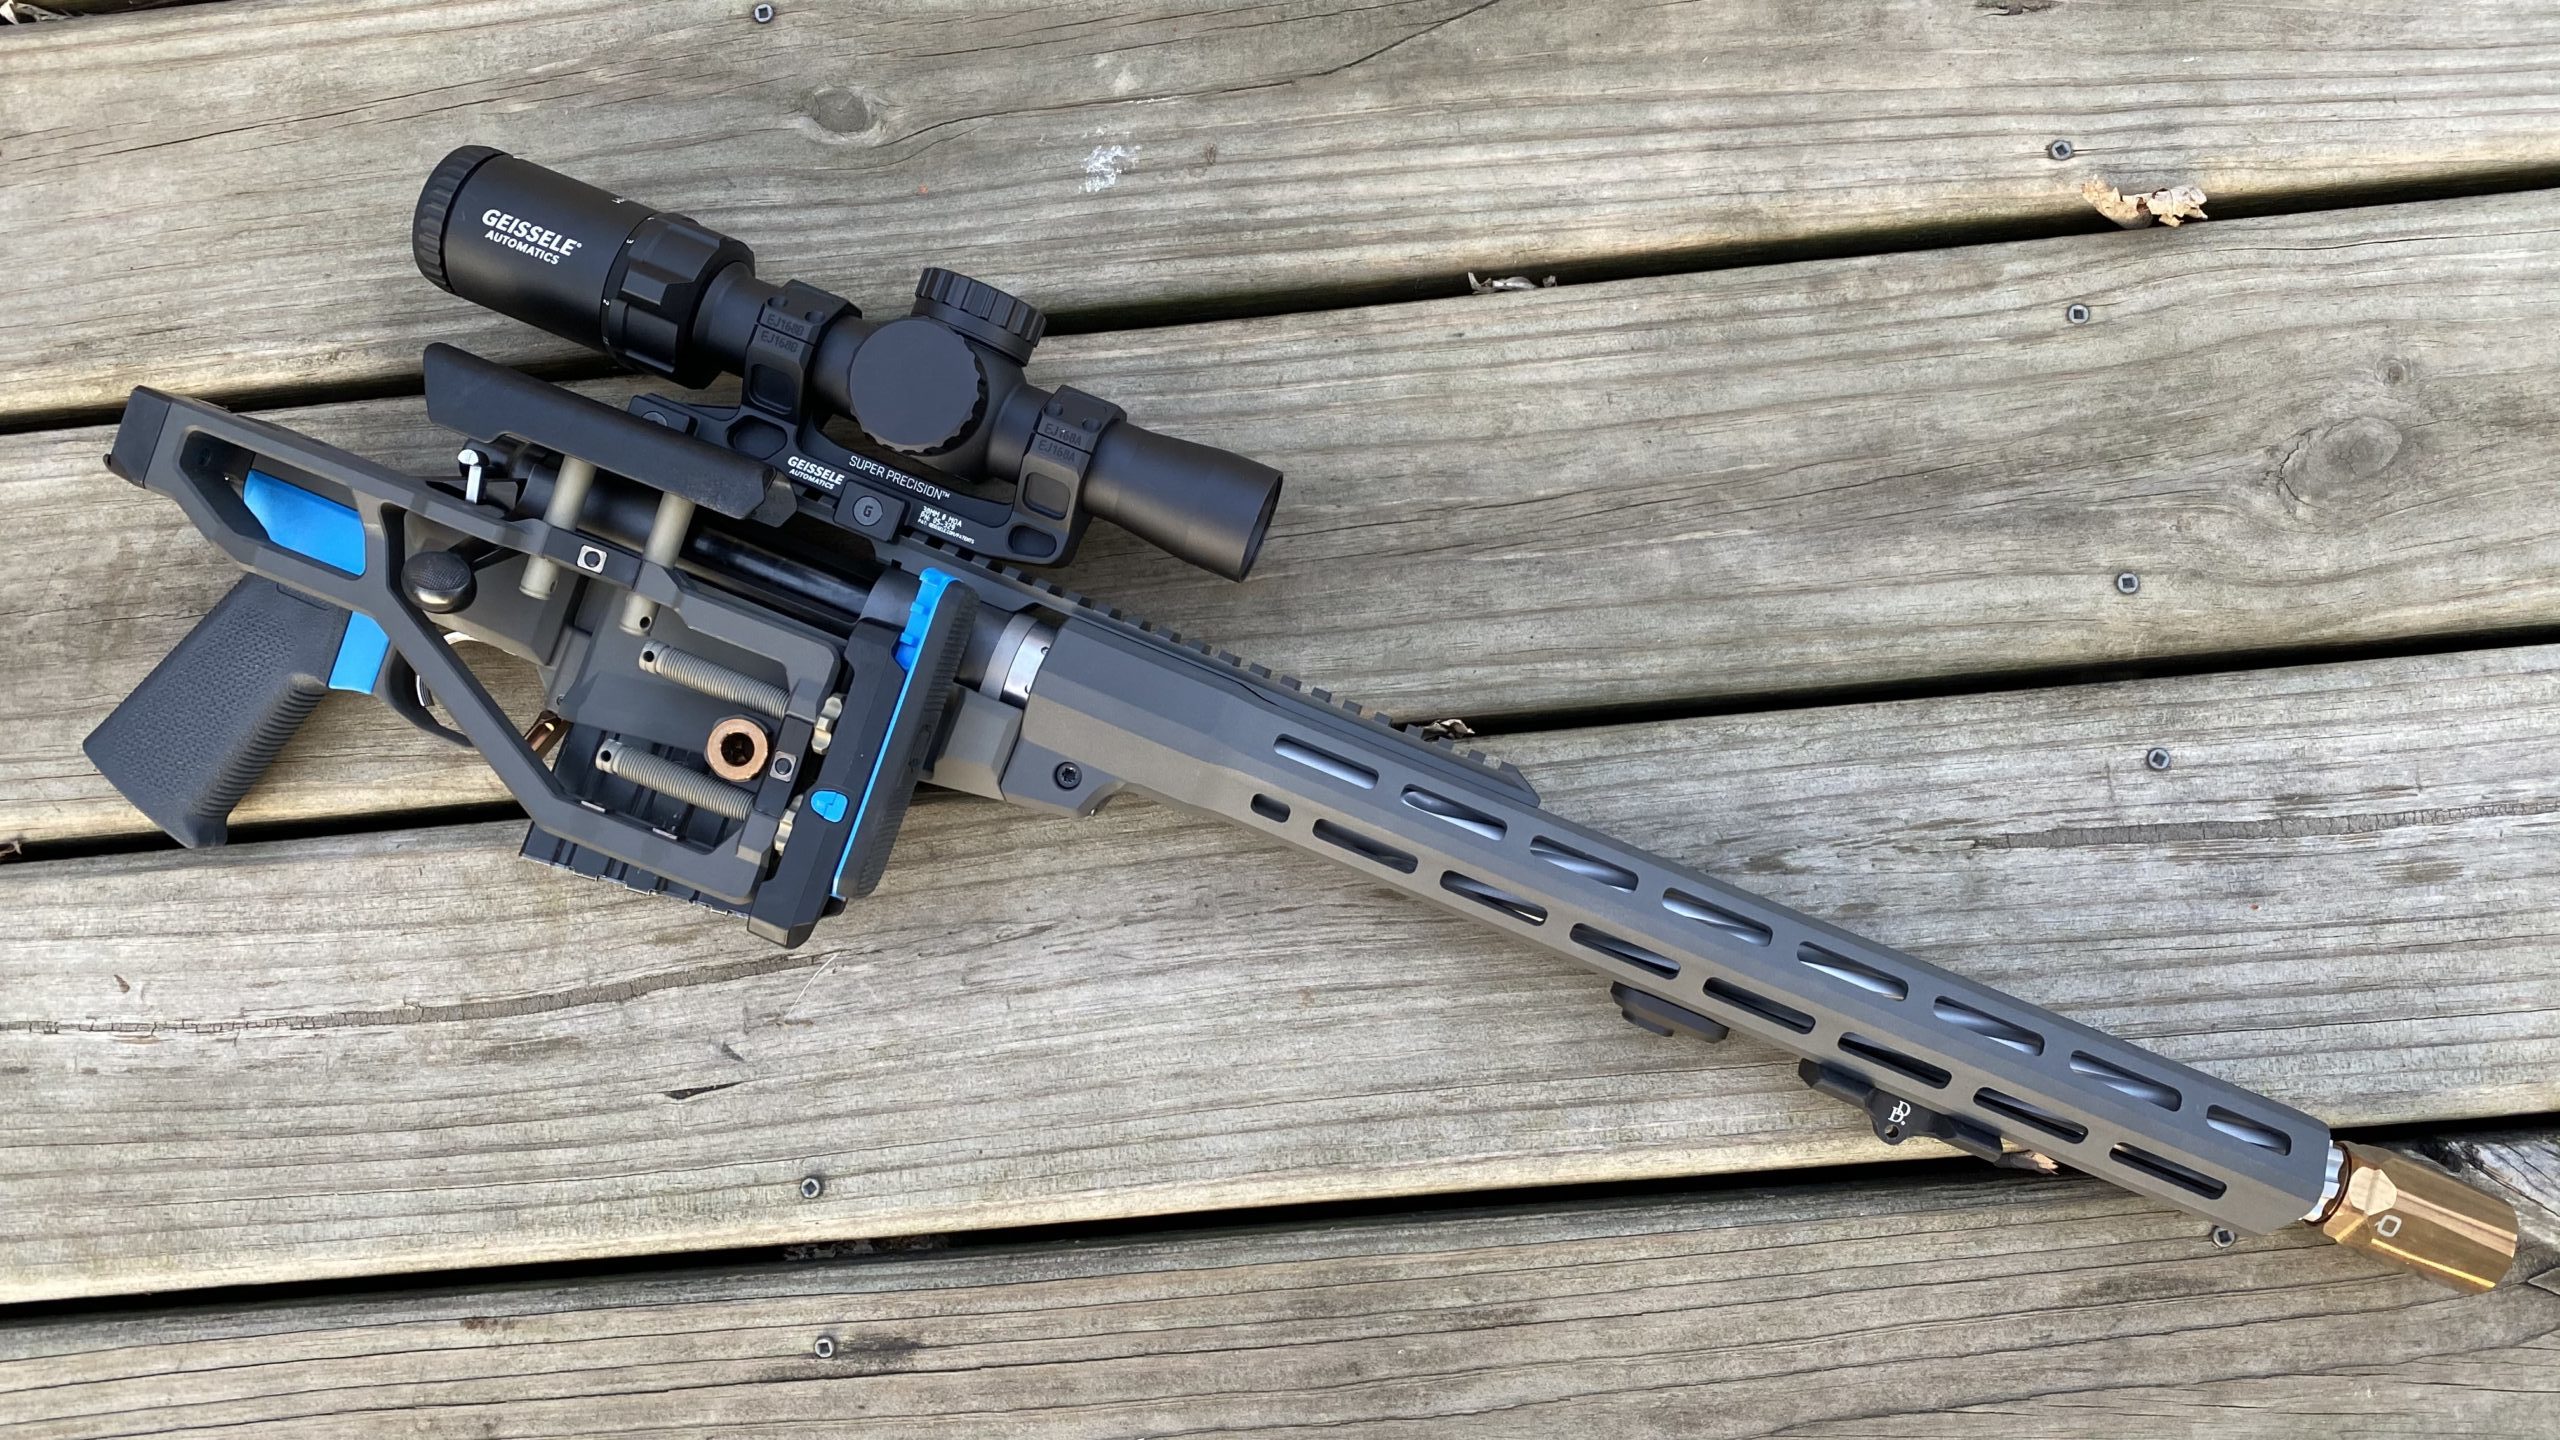
After exhausting all my options, I ended up deciding to cut down the 26” barrel down to a custom length of about 17.5” to make it line up just right with the handguard. My gunsmith had it finished literally as this article first ran here, which would be yesterday as I write this.
The new variant lost some of the longer, bulkier target-style parts and received a Geissele 1-6X, which will make this compact rifle effective to 1,000 yards with just holdover. This is the configuration that this rifle will be in going forward as I continue topics and reviews here on TTAG.


Kinda cool but I think I’ll stick with my McMillan. That folding stock is a nice feature though.
This is odd for some, but for legal reasons I would prefer a fixed stock version.
“Thankfully, this one was good a good one and it didn’t have to be trued out”
Lost all credibility there, sport. The machining quality on Remmy actions suck.
Right? There’s only a couple zillion Rem 700 spec actions out there like stock and custom Remingtons, Bergaras, trued 700 actions, and such.
That’s a lot of money to wrap around a $300.00 action.
LOT OF INFOR TO THINK ON . THANKS
For $1200 you could get an MDT ACC and have $105 left over. Or an MPA BA Comp and have $200 left over.
In addition to being overpriced, this looks like a pretty terrible design:
* That stock doesn’t extend down very far, which means you’d need a really tall rear bag for it. It’s much harder to squeeze a tall bag for fine adjustments than a short one.
* It lacks an Arca rail. I regularly find myself moving my bipod back and forth on the Arca rail before or during a stage, as I move between barricades. Or removing it entirely.
* Without an Arca rail, it’s also not possible to mount a bag on the forend of the rifle for shooting from barricades.
* It requires tools to adjust the LOP and cheek height. At the beginning of every match or range trip, I’ll adjust the cheek height, with my cheek on the rest, to get my eyebox perfect.
* Having that wrap around handguard provides no real benefit, because you’ll likely never shoot a bolt action precision rifle fast enough to warm it up, and it forces the scope up higher. With a 56mm objective, my sight axis is already 2.2″ above the bore axis.
* I would never trust a scope mount that’s bolted to the handguard, that’s bolted to the chassis, that’s bolted to the action. Even if nothing comes loose, it’s going to shift as the temperature rises 20 degrees or more during a match day. My Defiance action is one piece with an integrated rail to minimize shift.
* There’s nothing to protect the front of the magazine from pressing against a barricade or bag. That can cause feeding issues and interfere with reloading.
* There’s no thumb rest above the grip. Thumb rests help provide a consistent grip.
* There’s no trigger finger bump to properly index the finger.
I don’t think the people who designed this chassis have any experience with precision rifle matches. It looks like they just cobbled something together, to try to tap into a growing market.
I don’t think that you nor the author understand the folks that Q is attempting to cater to. In the author’s case, it’s generally not intended for 26″ barrels, and in your case it’s not intended for having puff pillows strapped to it by flabby guys in golf shirts – that makes for a terrible Instagram photo.
You’re correct, there are better options out there for your very loud game of golf.
In today’s world a man needs a dual purpose rifle.
That stock fails the canoe paddle test.
Duct tape, as ever, is a sufficient resolution for that particular problem.
Comments are closed.