A lot of us have iron sights set up to co-witness with a primary optic, mainly as a backup in the event the optic fails, but co-witnessing like this doesn’t work if that optic is magnified. Traditionally, the product solution offered has either been a quick release on the optic mount or a set of offset sights — an otherwise-normal set of irons that hangs off a rail section at a 45° or other angle. ZeroBravo has taken quite the departure from tradition with its REOS — Rapid Engagement Offset Sights [not to be confused with ROUS, which definitely exist] — in order to provide simple, rugged sights that act both as backups and as a faster option for short ranges that can be difficult to engage with a magnified optic. . .
https://www.youtube.com/watch?v=ZYL3VW2MIIY
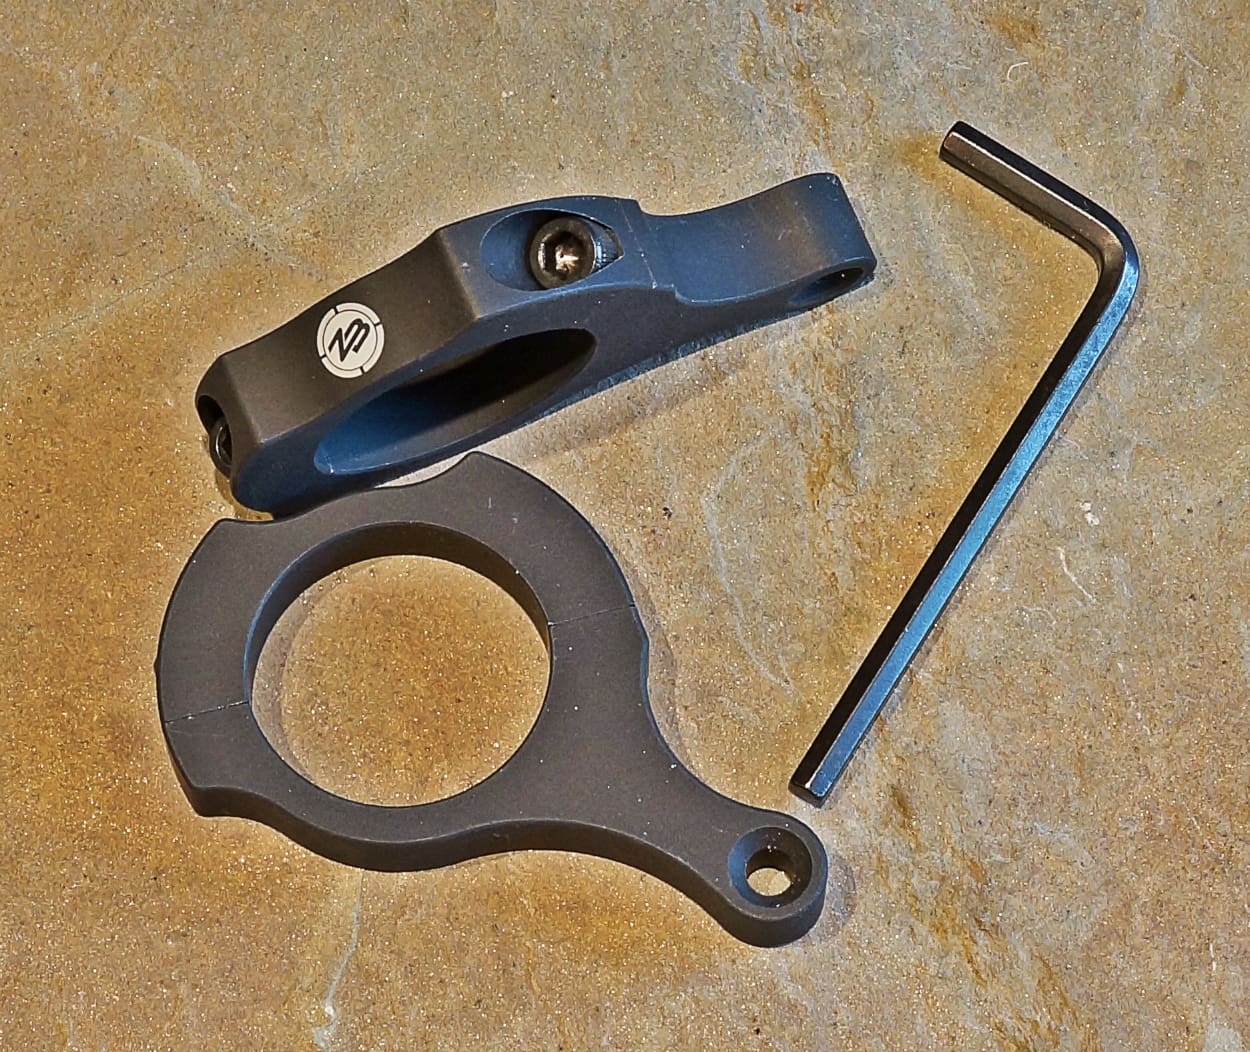
Simplicity is an oft-desired feature in backup sights, and the REOS deliver here. Once clamped onto your scope, they have no moving parts. They’re machined from 6061 aluminum and then Type III anodized.
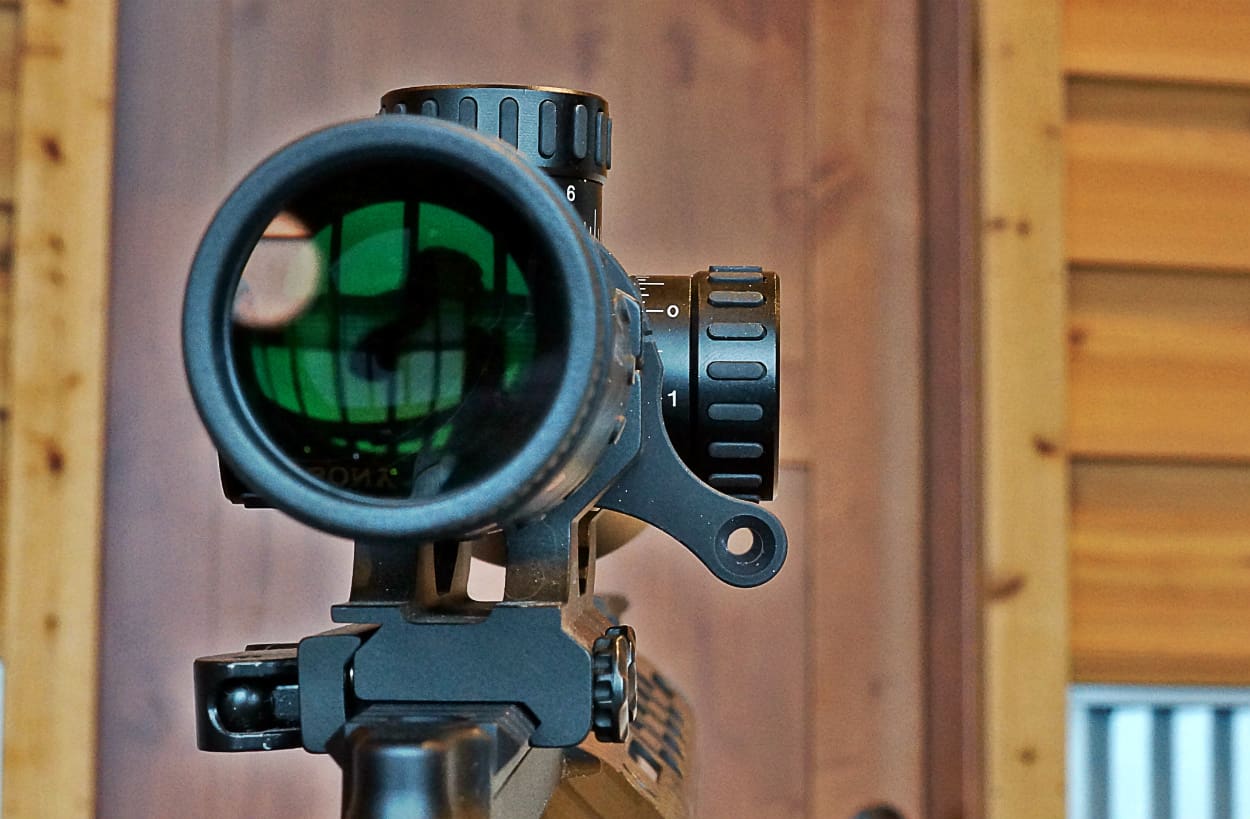
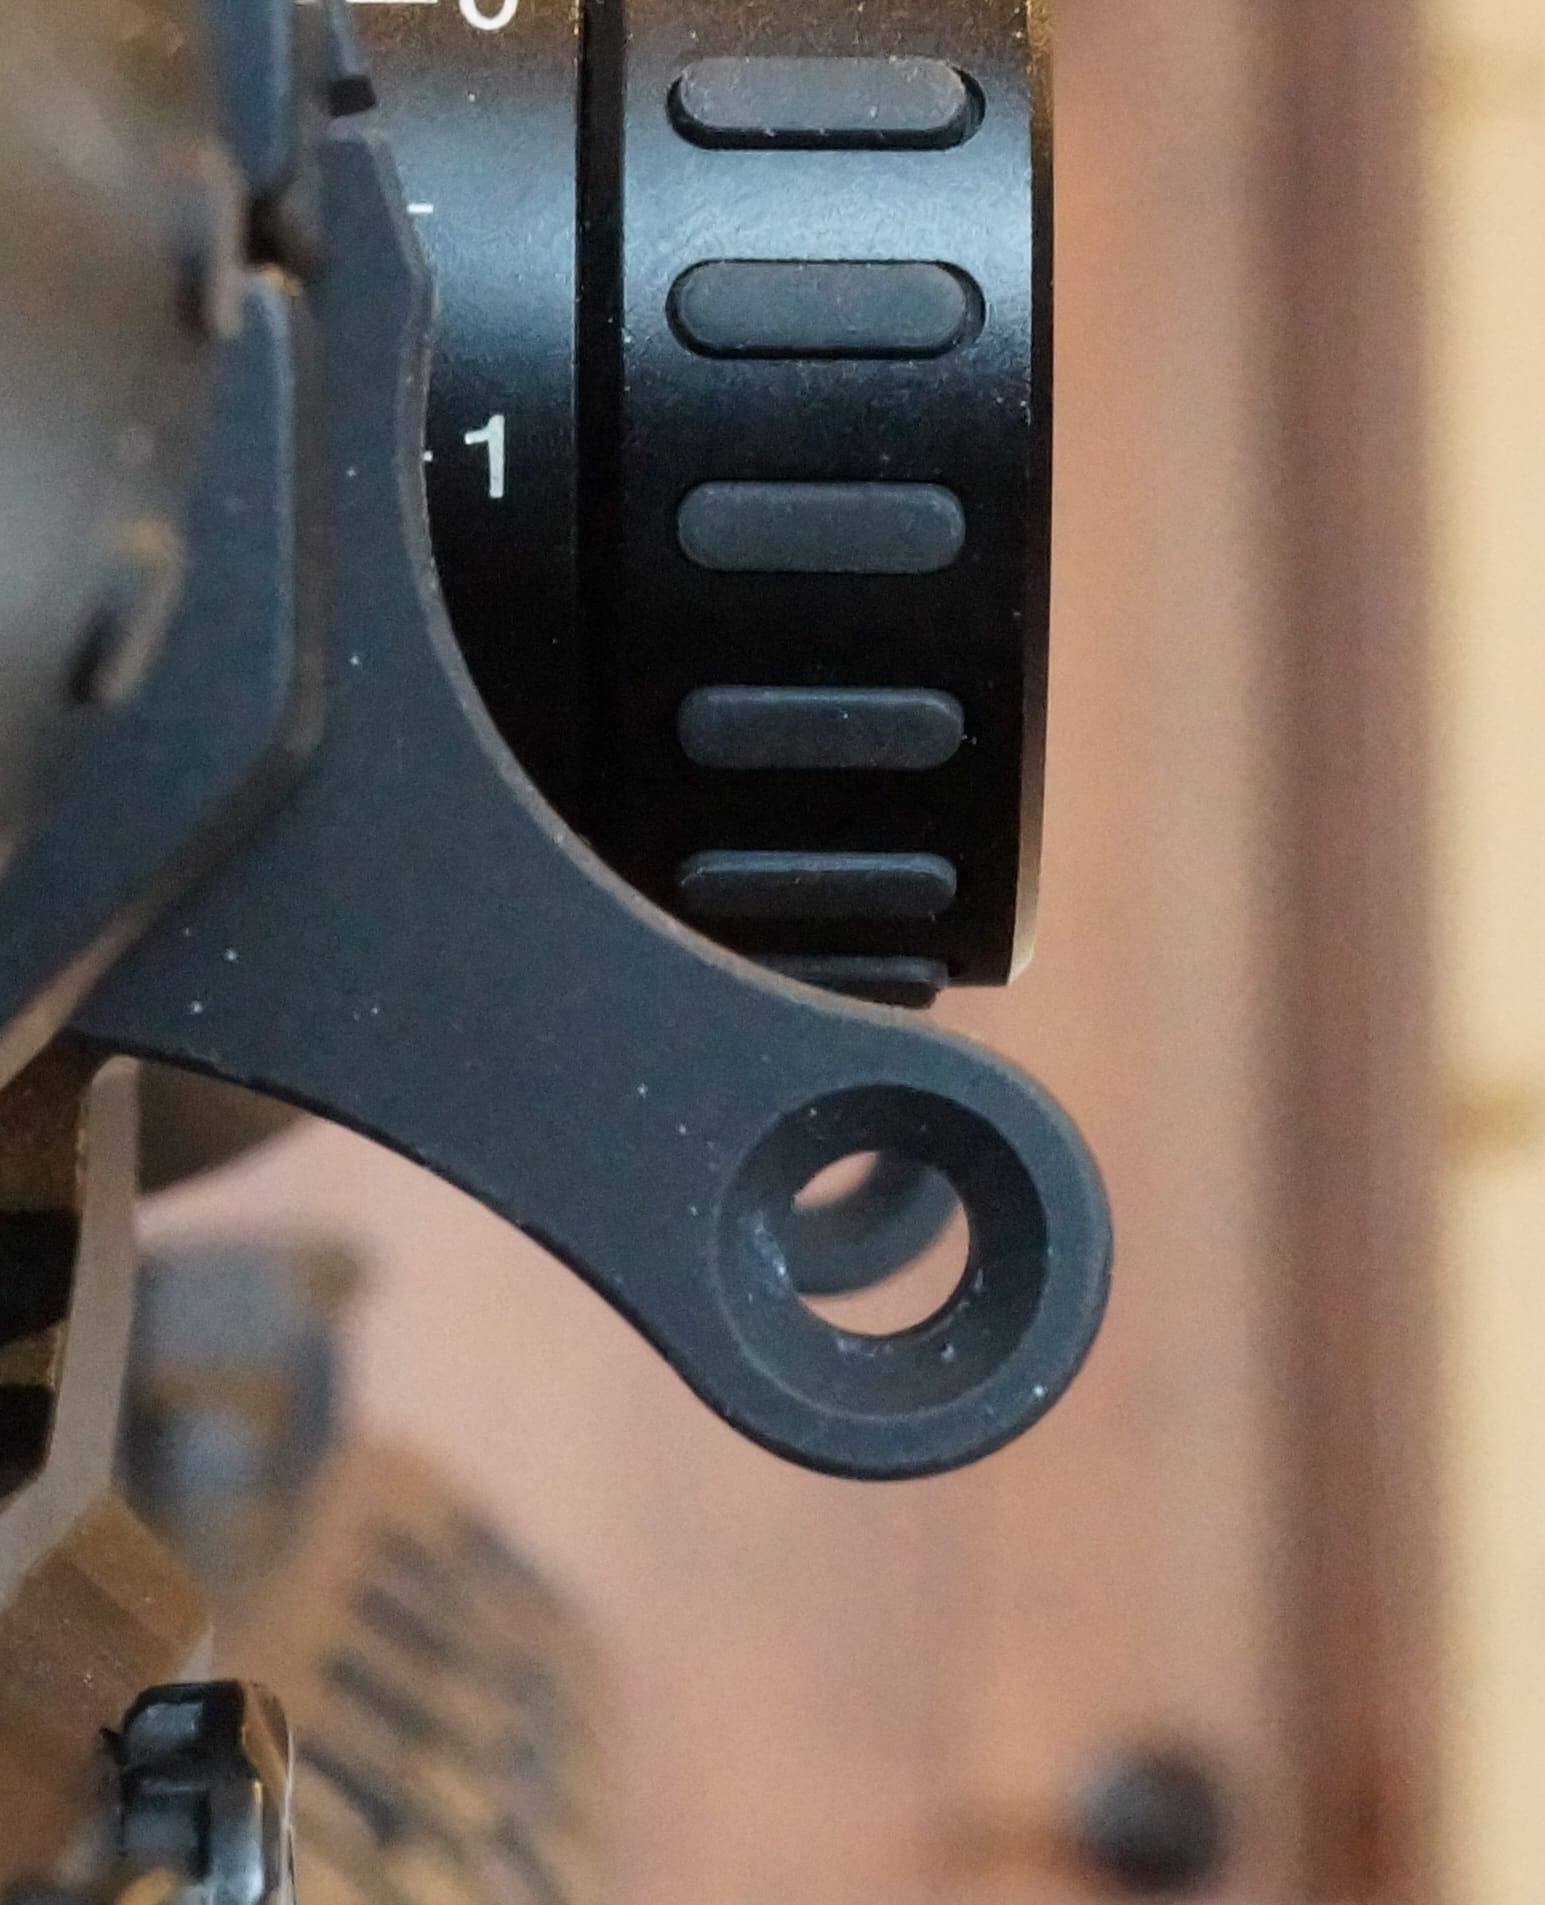
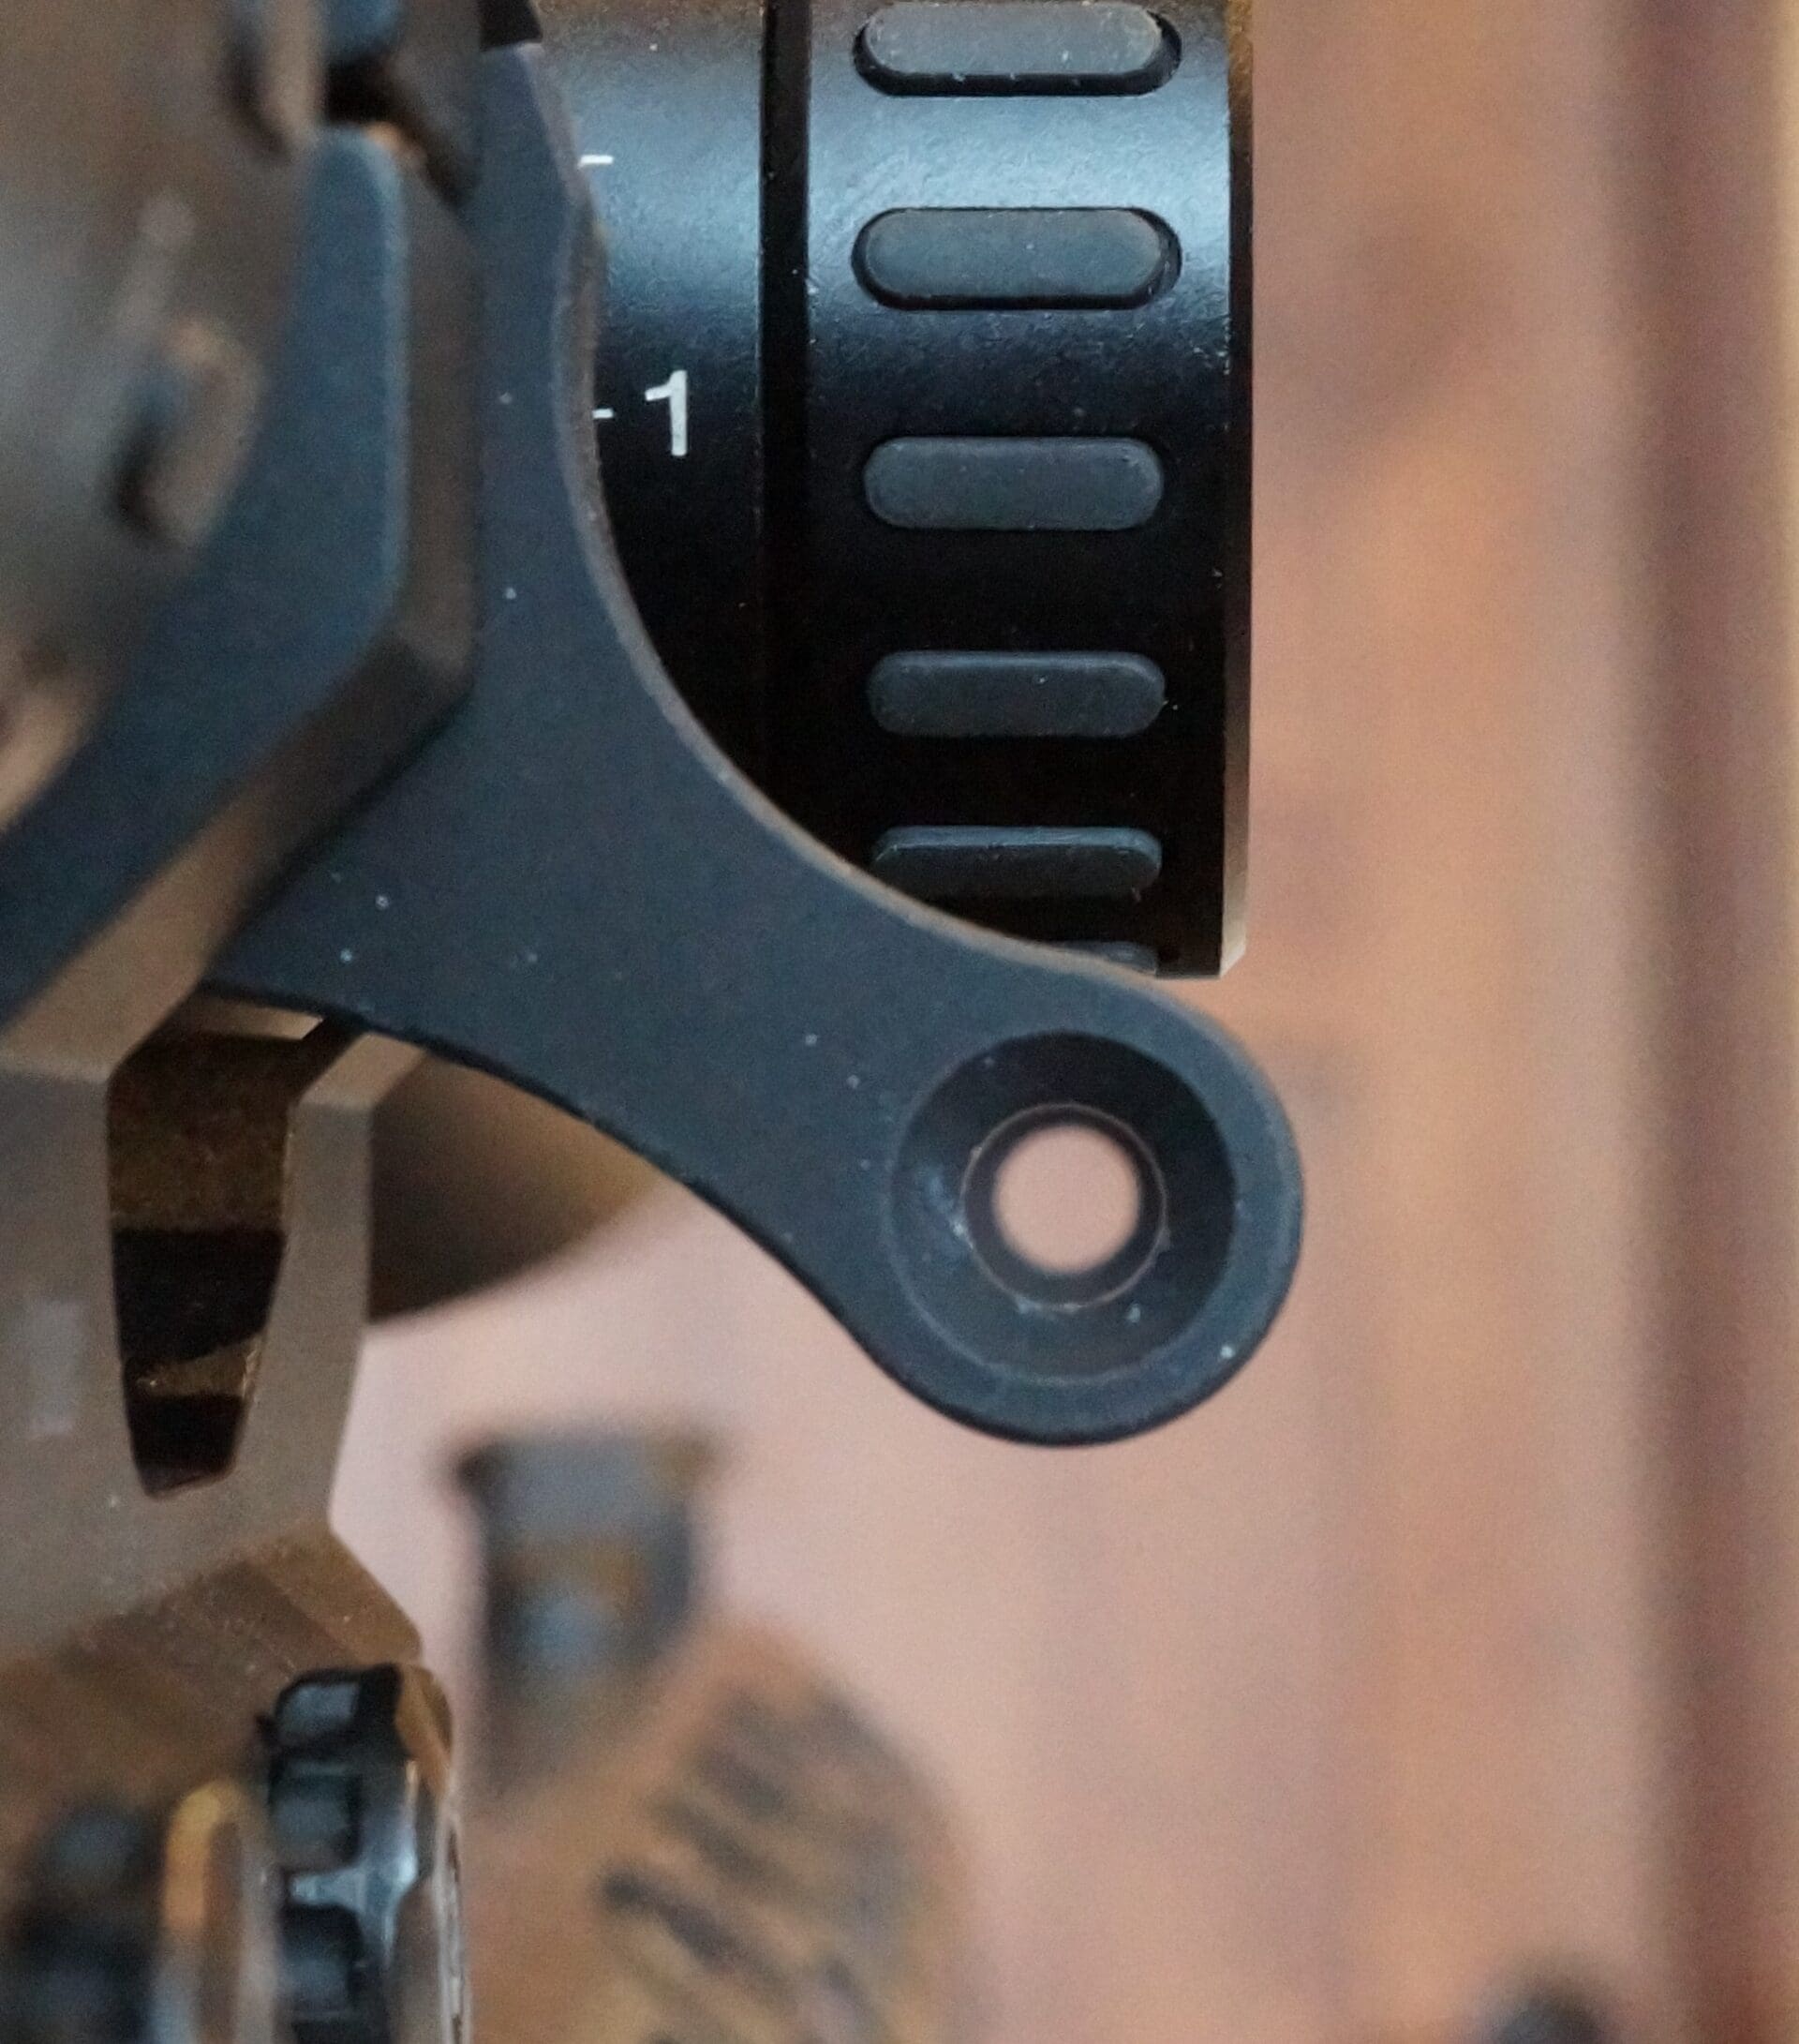
No front sight post, even. Sight alignment is achieved by simply lining up the two apertures, and precision is achieved by perfectly centering the front sight’s aperture in the rear sight’s aperture. Basically, it’s two ghost rings.
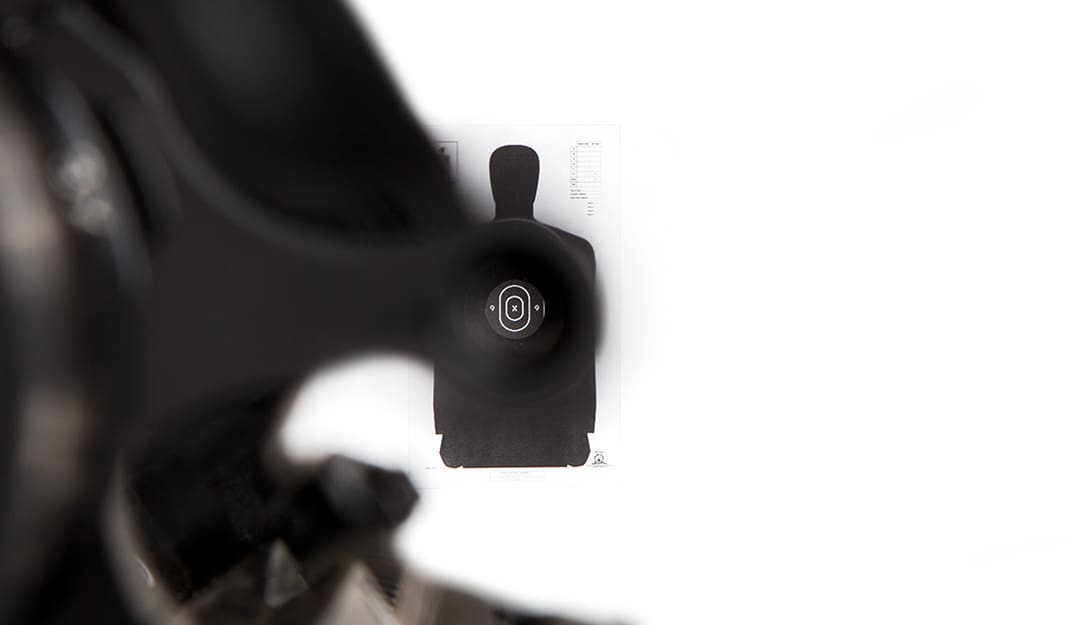
One nice benefit to the hole-in-a-hole alignment is that the target is nicely visible and the point of impact should be right in the center, unobscured by a sight post.
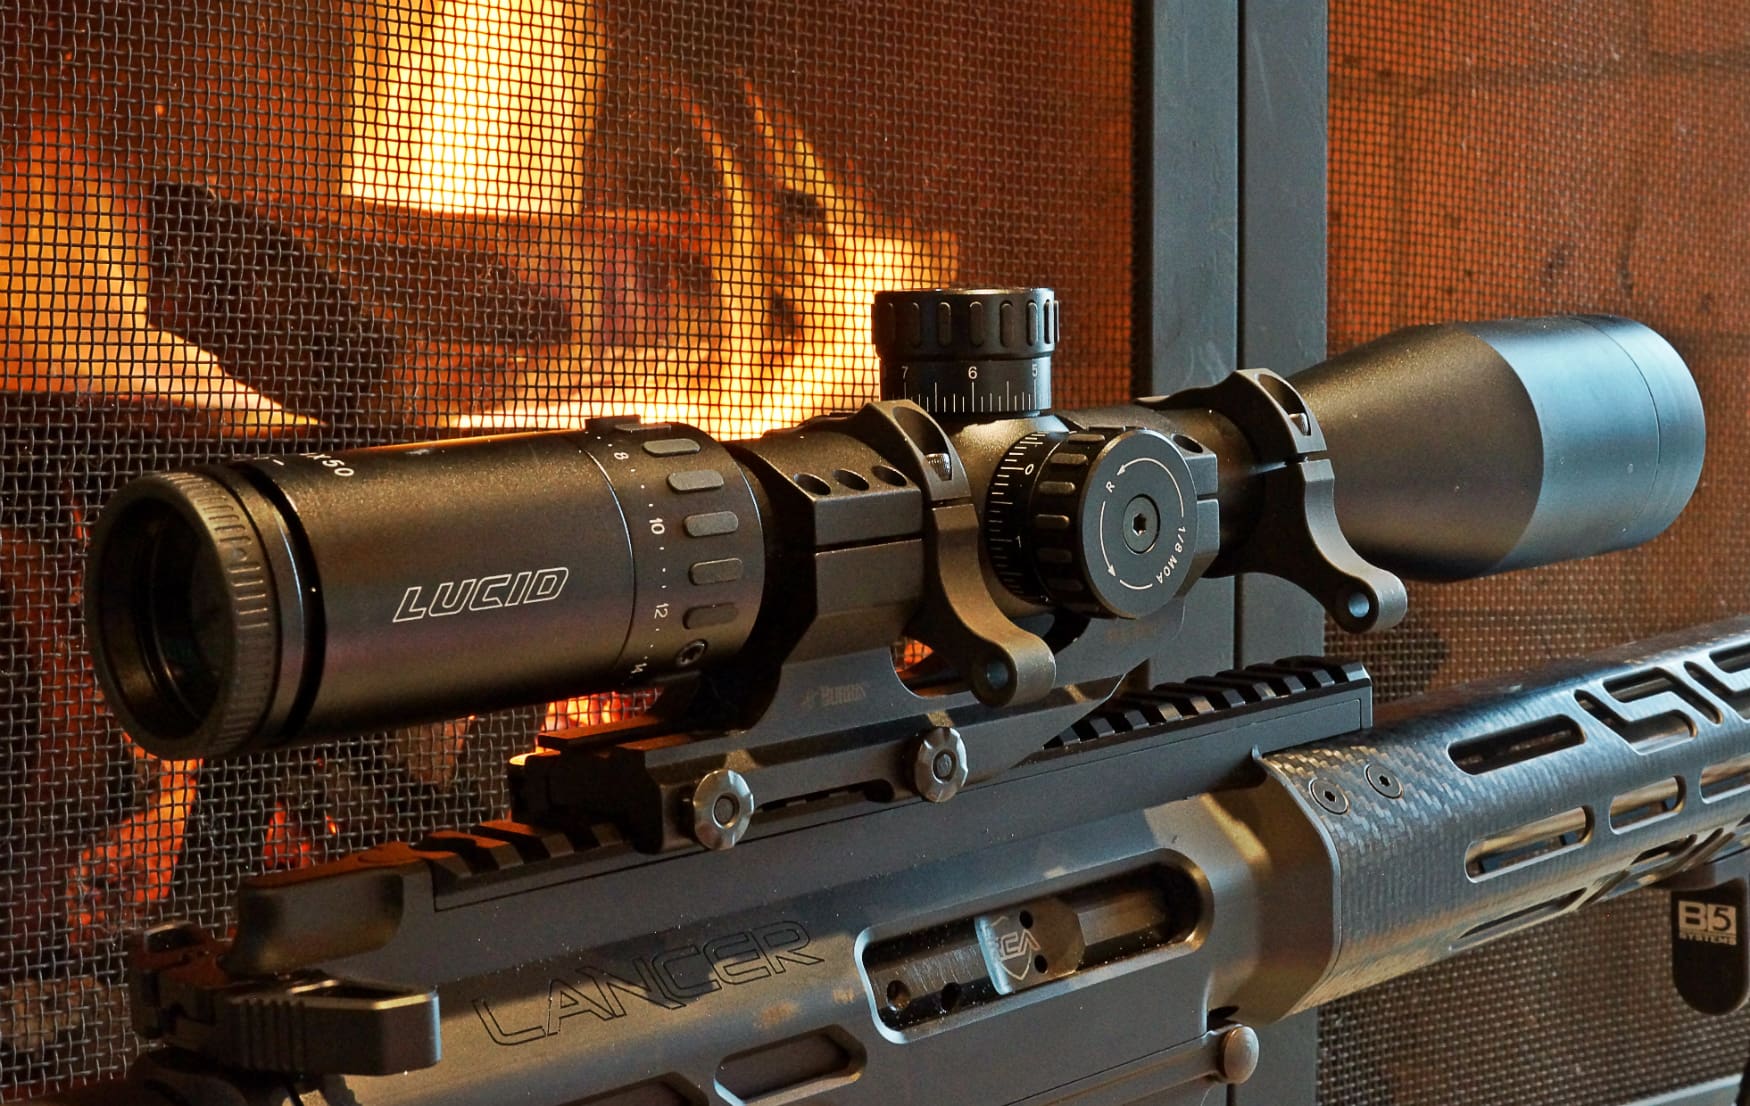
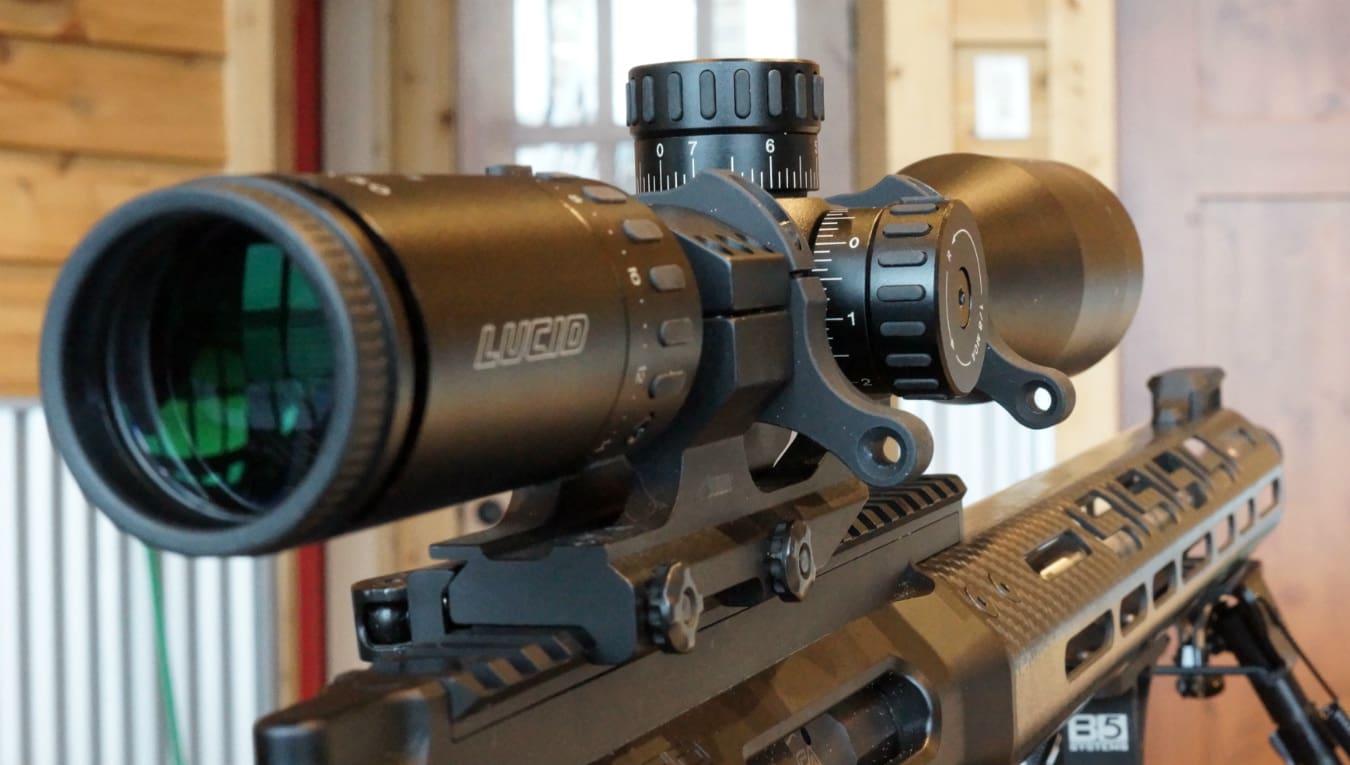
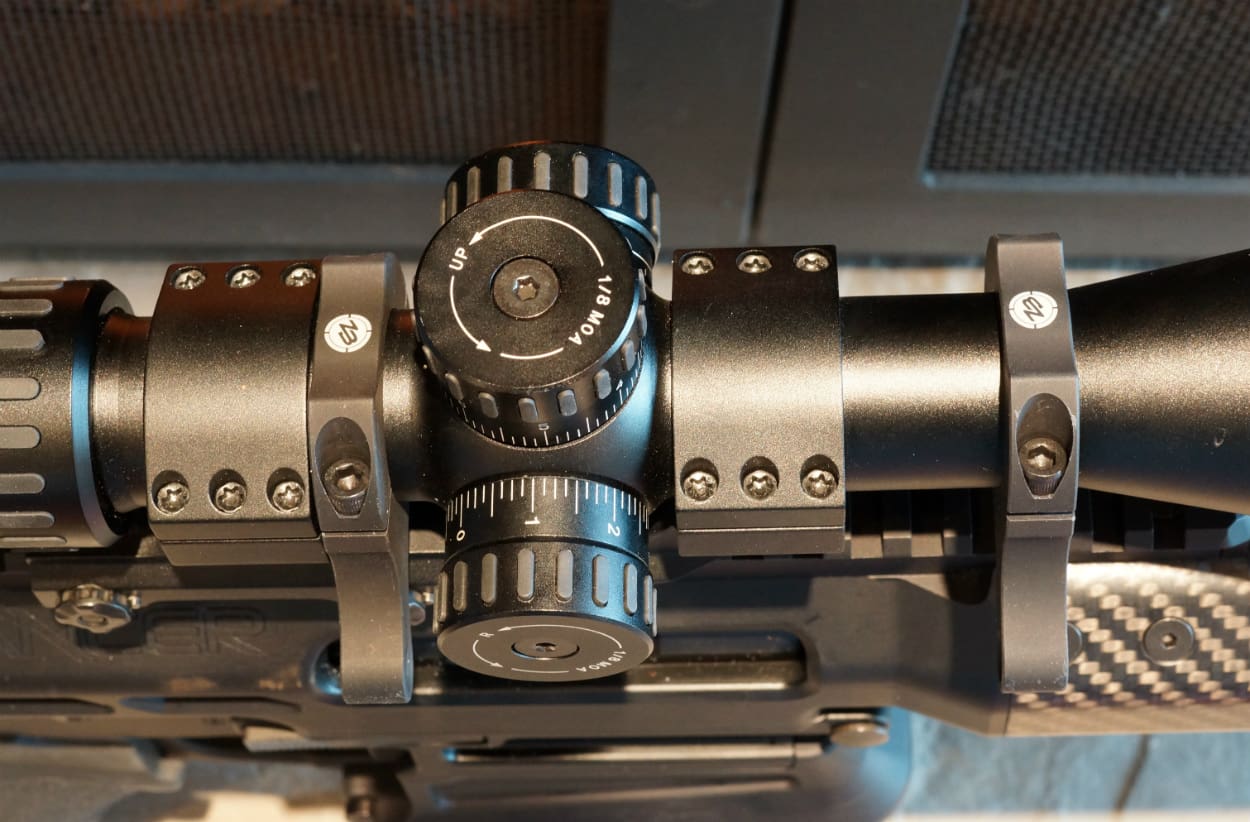
In these photos, the REOS are installed where ZeroBravo suggests: apertures just under the scope’s windage dial. They do work rotated nearly all the way down — which is closer to where I personally prefer them — or rotated up so they’re next to the elevation dial. Before getting them sighted in, I’d suggest tinkering with their orientation to determine where you like them best. As you have to cant or rotate the rifle and/or your head over to align your eye with them, this may be easier with the REOS at a different location around the circumference of the scope. In addition to personal preference, it may vary based on the rifle, scope, etc.
Getting the REOS zeroed was faster than expected. I’d suggest installing the front one where it belongs and snugging it down to spec, then making POA/POI adjustments by rotating the rear so that moving it up means POI moves up, and moving it down means POI moves down. Since it’s moving around a circular axis, rotating one of the sights does affect both elevation and windage, but how much of each will depend on where on the scope’s circumference they’re installed. This may be somewhat complicated conceptually, but it comes together really fast in practice and I was in the A-Zone in 4 rounds.
On The Range
One of the first things I wanted to do was see if I could actually shoot a decent group using the dual ghost ring format, so I put five rounds on a Rubber Dummies target standing offhand from 25 yards.
Definitely acceptable. Especially as these are designed for rapid acquisition speed at short ranges, not for bullseye shooting. And they are quick. I found it easier than expected to get the sights aligned — the back-and-forth process is shown in POV in the video review above, and doing it with the camera was harder than in real use — and locating the target in the middle of the apertures is foolproof.
As the rifle is canted over and alignment is being achieved, the front sight crosses into the rear.
Then the front aperture gets centered in the rear for proper alignment.
Slight difficulty in determining where the front aperture ends and the rear aperture begins — admittedly, my right eye isn’t the strongest — is what holds me back from being even faster and more accurate with the REOS. This would definitely be fixed with some white paint. Indeed, ZeroBravo suggests that this smooth, recessed part of the aperture is easily painted for just this reason, and I’d definitely suggest doing so.
Conclusions
Simple, rugged, fast, lightweight. Apparently people have been using them for 3-Gun and other shooting endeavors requiring back-and-forth between distant and close-in targets. While a reflex sight works very well for this also, the REOS don’t require batteries and don’t have a lens.
If I made a suggested changes or nit picks wishlist…
- I’d want that front aperture recess cerakoted white from the factory. Or at least be given the option to order it already done.
- I’m sure it makes sense when mounted on some optics, but I find the length of the “shaft” part excessive. I wouldn’t have to shift my rifle as much if the apertures were closer to the lens of my primary optic.
- These are precisely machined and nicely finished, but for a hundred bucks I’d like to see a couple more machine operations to skeletonize or flute out some of the extra aluminum. The set only weighs 1.8 oz per pair, but it could easily be less. A changed based on nit pick #2 would shave weight as well.
Specifications: ZeroBravo REOS (Rapid Engagement Offset Sights)
Fit: Available for 1″, 30mm, and 34mm diameter scopes
Material: 6061 aluminum
Finish: Mil-Spec Type III anodizing
Height: 2.1″
Width: 2.28″
Depth: 0.4″
Weight: 1.8 oz per pair
MSRP: $99.95
Ratings (out of five stars):
Speed: * * * *
Quick and very simple.
Accuracy: * * *
White paint on the front would help. Yes, this is easily done but we can’t review products based on personally-applied, aftermarket modifications.
Ease of Installation: * * * 1/2
It’s a bit more involved that clamping a sight onto a picatinny rail, and getting them zeroed isn’t a familiar process. It didn’t take long, but there’s more trial-and-error than something that’s click adjustable.
Overall: * * * 1/2
The paint thing is silly and easy enough to remedy, but it cost a 4+ rating for me. Other things preventing more stars would be the two additional nit picks plus the $100 price tag. It isn’t unfair or anything, but it isn’t a killer value, either. Super simple is absolutely great for BUIS (back-up iron sights), but super simple also makes a hundred bucks seem like more than it might otherwise.


I do like them, HOWEVER… asking 100 bucks for two flat pieces of metal with countersunk holes drilled in them is just a bit steep for my taste.
Are we going to have a “R.O.U.S.s for Beginners” series covering best practices in maintenance, carry, use in self-defense, etc.?
Inconceivable.
You keep using that word, I do not think it means what you think it means.
Princess Bride reference.
All drink
Hmmm… These things assume the scope tube is aligned properly. Wouldn’t you need a way to change the aperture’s radius from the centerline of the tube in order to get the flexibility to sight these properly? I understand these aren’t meant to be a precision sight.
I’d think the easiest way to sight these things in would be to put the rifle in a vise and make the POA the same as what you see through the optic. Just not sure if that is achievable without some sort of radial adjustment on say.. the rear aperture.
If you wanted it super precise, probably. That is, without rotating where they are on the circumference of the scope tube. Imagine they’re pointing straight up at 12:00… then any alignment adjustment is going to almost entirely change just left/right POI. If they’re pointing straight to the side at 3:00, any adjustment is going to affect almost entirely just up/down POI. At in-between locations (12:00, 3:00, 6:00, or 9:00) when you move one sight to change the POI it actually shifts POI both up/down and left/right simultaneously. Your desired POI can be found, but that could take a lot of trial-and-error. If you’re good just being within 3-ish inches of your desired POI inside of like 40 yards, you can probably get these sighted in within 10 minutes.
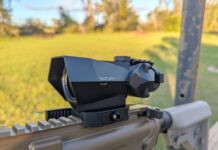
In this video and in the target photo for the review here, I had just moved these onto a different scope on a different rifle (off my AR and onto the Tavor). The first shot at 25 yards was like 8 inches high. I moved the rear sight a little bit and ended up like 3″ high and just called it a day. Two rounds, close enough. On my AR I spent 4 rounds sighting in from a sandbag and got it right on. I still haven’t decided where I’m putting these long-term, but probably on a high-zoom optic like the Lucid 6-25x seen in these photos or the SIG Optics TANGO6 3-18x that I just picked up.
Did you try with mounted in the 8 oclock position. Would seem easier to slide rifle up on check than to rotate it to the gangster gat position.
Your right arm will rotate out better than it will in, when holding a rifle. The opposite would apply for a lefty.
Yeah, for a right-handed shooter canting the top of the rifle over towards your left shoulder is easier or at least more stable, and it allows you to maintain a cheek weld. I’ve never seen anyone run it the opposite way. I do, however, prefer these things rotated farther down towards the right side of the rail (so like 5:00). That’ll depend a lot on the particular rifle and the stock, etc etc, but that location has worked well for me on a couple different guns that I’ve tried these on. Just seems to take less rolling of the rifle and I get aligned faster.
Do they include some sort of indexing ‘rod’ [hell, just supply a lengthened Allen wrench] to help at least roughly align the sights? I know you can do it ‘by-eye’ but then, you could do that without the sights.
P.S. – Rubber Dummies look like good training aids. I previously thought “rubber dummies” were parents of POS (D).
The rod thing occurred to me as well, actually. I ended up just canting the rifle over a bit until I was clear of the scope and I had the cheek weld I wanted, then I rotated the front sight to where I liked it before clamping it down. Then I repeated the process until the rear sight lined up with the already-installed front. At that point, it was on paper at 25 yards and took only minor adjustment to get it right on.
Oh I’m typing up the Rubber Dummies review now, btw. It’ll either go live later this week or early next…
#RodentsOfUnusualSizeLivesMatter
A hundred bucks isn’t huge money, and it isn’t chump change either. It just seems that’s the default MSRP for that stuff.
That’s one of my biggest gripes about the AR platform. A hundred here, a hundred there, pretty soon you’re into some serious money on that platform…
Yeah, the extras are nice. I’d *love* to have that folding stock pivot TTAG reviewed a while back, that wipe-to-clean bolt carrier group, a trick red dot…
If they ever figure out how to integrate Lt. Frank Drebin’s ‘model D83 Swedish sure-grip, er, machine… 🙂
I still haven’t figured out the whole co-witnessing thing and my eyes are driving me towards needing optics, so I guess I need to sort it out. Even scopes are a little tough, seems like red dot sights are going to be the way to go. Annoying as all get out.
That fire is so delightful….
An elegant solution. 25 yards and in is easy and you forget it is there until you need it. I would buy again.
Neat, still looking for something for my monarch 4×16
How do these compare with rail mounted off set irons with much longer sight radius?
Typical irons are designed to be accurate out to longer distances. These are designed to be faster to acquire but with the relatively open sight picture you can’t really be quite as precise. Quick sight picture for shorter ranges where your magnified optic with its smaller field of view becomes slow.
I was referring to offset irons that are just at longer sight radius
http://www.addicted2tech.com/fun_with_guns/slides/DSCN1729.JPG
I understand. Everything that applies to normal iron sights applies to offset ones. They’re the same sights, just canted to the side so they’re visible around the scope. If they used a honkin ghost ring like a tactical shotgun then they’d be faster than they are, but they use a small rear aperture and a front post and that’s better for precise alignment but typically isn’t as fast and blocks more of your view of the target. The REOS would probably work at a longer sight radius but the relative size of that front aperture would get smaller and smaller and smaller as it moved forwards. They’d either have to switch it to a dot (a ball on a post) or make the front aperture huge. The shorter sight radius allows them both to be the same physical size but the front appears smaller and can be centered inside of the rear because it’s a few inches farther away.
I think bottom line is that typical iron sights are used as backups for a magnified optic that breaks or fogs up or is otherwise not usable. The BUIS still allow you to engage targets at a distance like you would have with your magnified optic. The REOS are less of a backup and more of a simultaneous use thing. Scope is for longer ranges, REOS are for shorter ranges, and you switch back and forth as needed. The use case is more for replacing a reflex sight / red dot that’s mounted to a scope and used for fast, short-range shooting and less for taking the place of your magnified optic (the back-up service that normal irons provide).
No real reason these wouldn’t work if mounted to the rail, but putting them on the scope allows for POI/POA adjustment without adding moving parts and complexity, and doesn’t require rail space.
gotcha ! thanks for the further elaboration
Consider the following before you berate the cost:
1) R&D. They didn’t develop themselves.
2) The cost of quality BUIS start at $100 +/-.
3) The cost of quality QR/QD rings for your scope.
4) The long term savings to the end user in time & ammo rezeroing a scope.
Why is it that people buy a match grade, sniper-doodle-do weapon but turn around and skimp on ammo, glass and BUIS, then blame poor performance on the weapon?
The $99.00 retail is a bargain investment for the return given to the serious shooter, and serious shooters understand this.
Every scoped weapon I own wears REOS; yours should to.
As always, YMMV.
Comments are closed.